Casting Good Handgun Bullets and Plenty of Them
Fast Pace Techniques
other By: Mike Venturino | December, 25
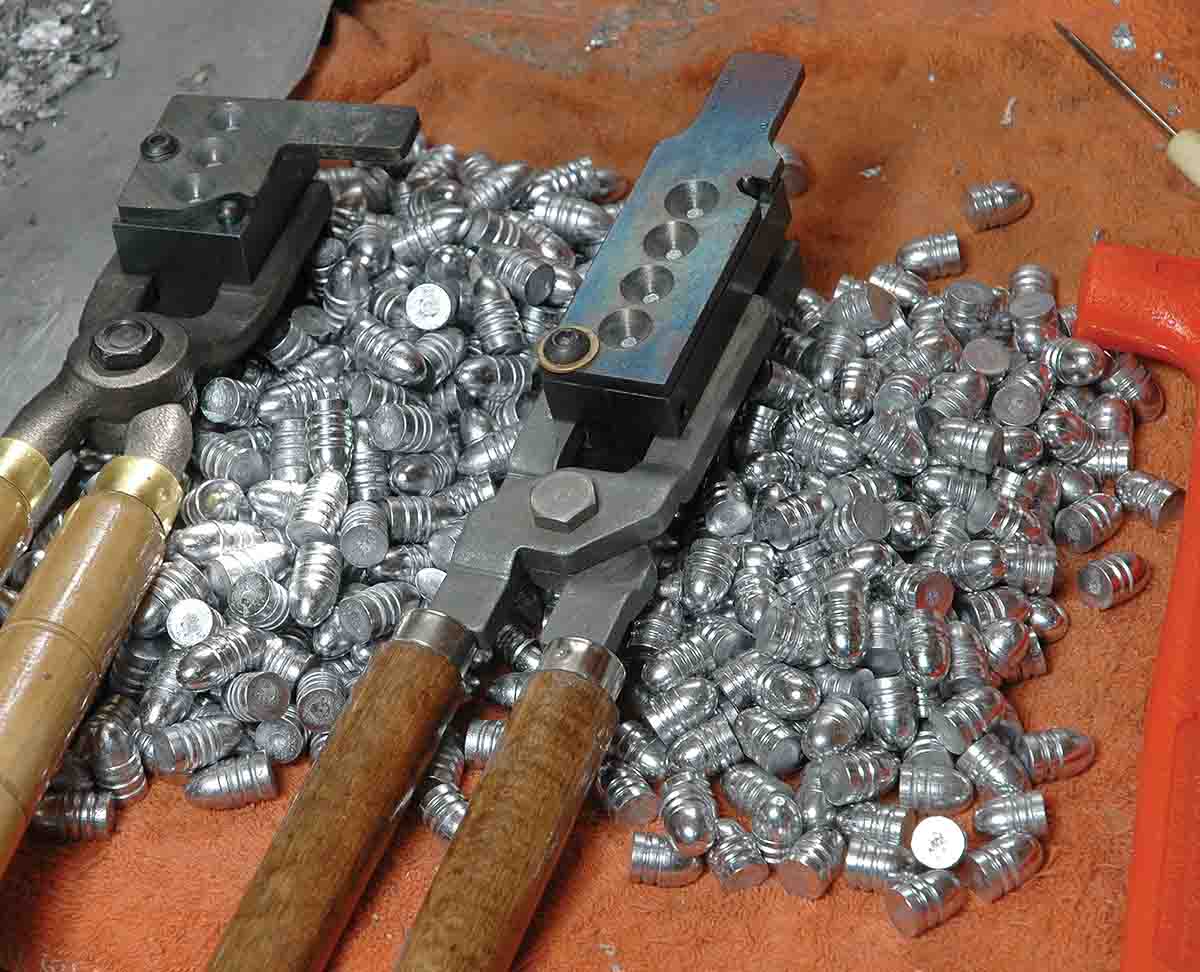
When casting handgun bullets that will be the focus of this article, just about all those points regarding match grade BPCR bullets are reversed. For handgun bullets, a bottom-pour pot is much faster, so are multiple-cavity moulds, and even better is using multiples of multiple-cavity moulds. Whereas a blend of 1-20 (tin to lead) is my sole choice for use in casting match grade BPCR bullets, several alloys are needed to cover a wide range of handguns. For example, hollowpoint or hollowbase handgun bullets need very soft alloys, say with a Brinell hardness number (BHN) of five to eight. That’s pure lead to about 1-40 (tin-to-lead) alloy. In the middle are handgun bullets to be fired in revolvers at velocities under about 1,000 fps. Then
Even the level of quality desired varies drastically in comparing match grade BPCR bullets and most handgun bullets. For instance, for match grade BPCR cast bullets to be worth a hoot, they must be capable of grouping into about 11⁄2 MOA all the way to 500 meters. That’s how far away the ram silhouettes are, and from belly-line to backbone they only measure about 12 inches deep. Therefore, my BPCR bullets are both visually inspected and individually weighed with a self-imposed limit being a range of ±0.3 grain.
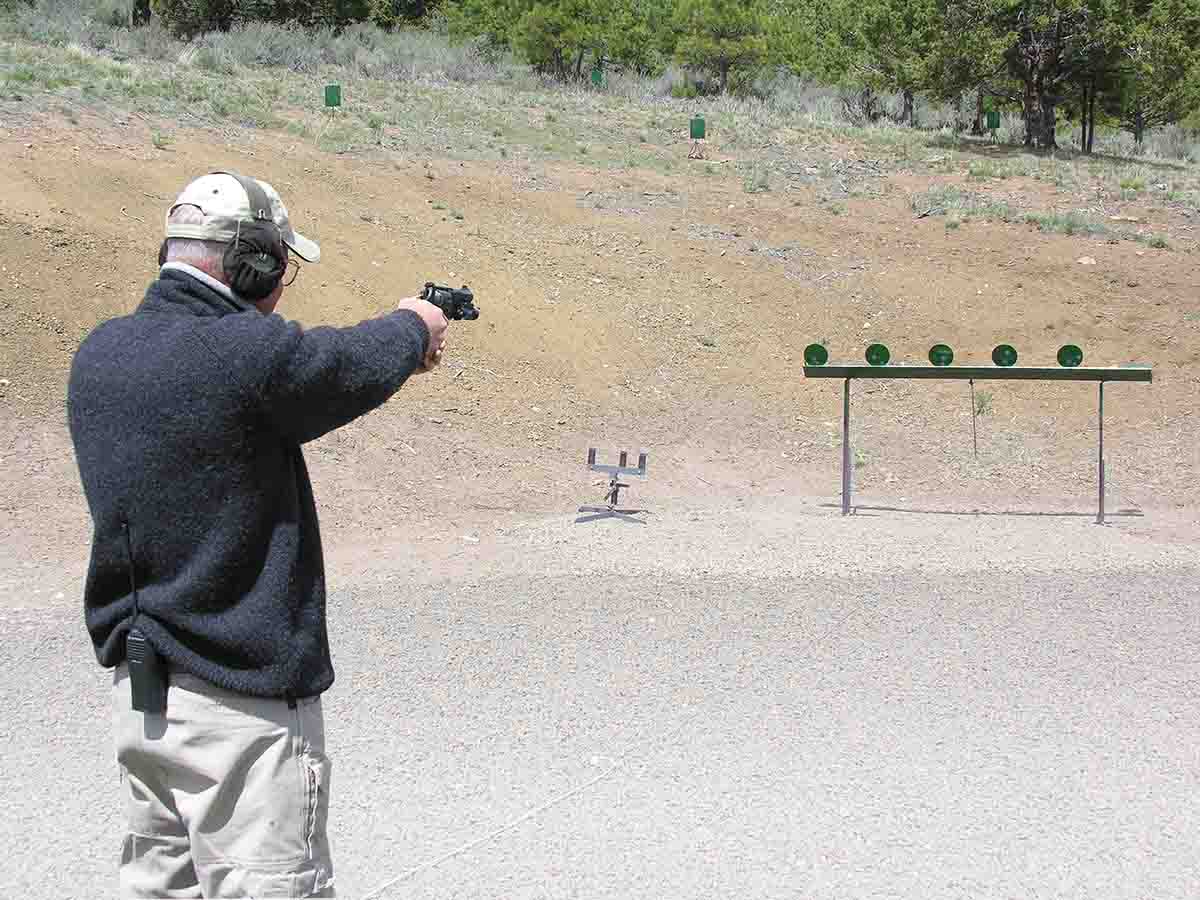
For handgun bullets, that sort of quality control would be a waste of time, especially weighing each and every one. Most handgun bullets will be fired within about 50 yards. For action-type shooting such as IDPA, IPSC or cowboy action, the targets are likely large, steel plates. Those disciplines are geared to speed more than precision. Neither do hunting bullets require ultraprecision. No game animal shot at reasonable handgun ranges presents an MOA-size killing zone. However, it is true that handgun bullets used for Bullseye target competition do need be of consistently high quality, but still not the MOA level needed for BPCR Silhouette.
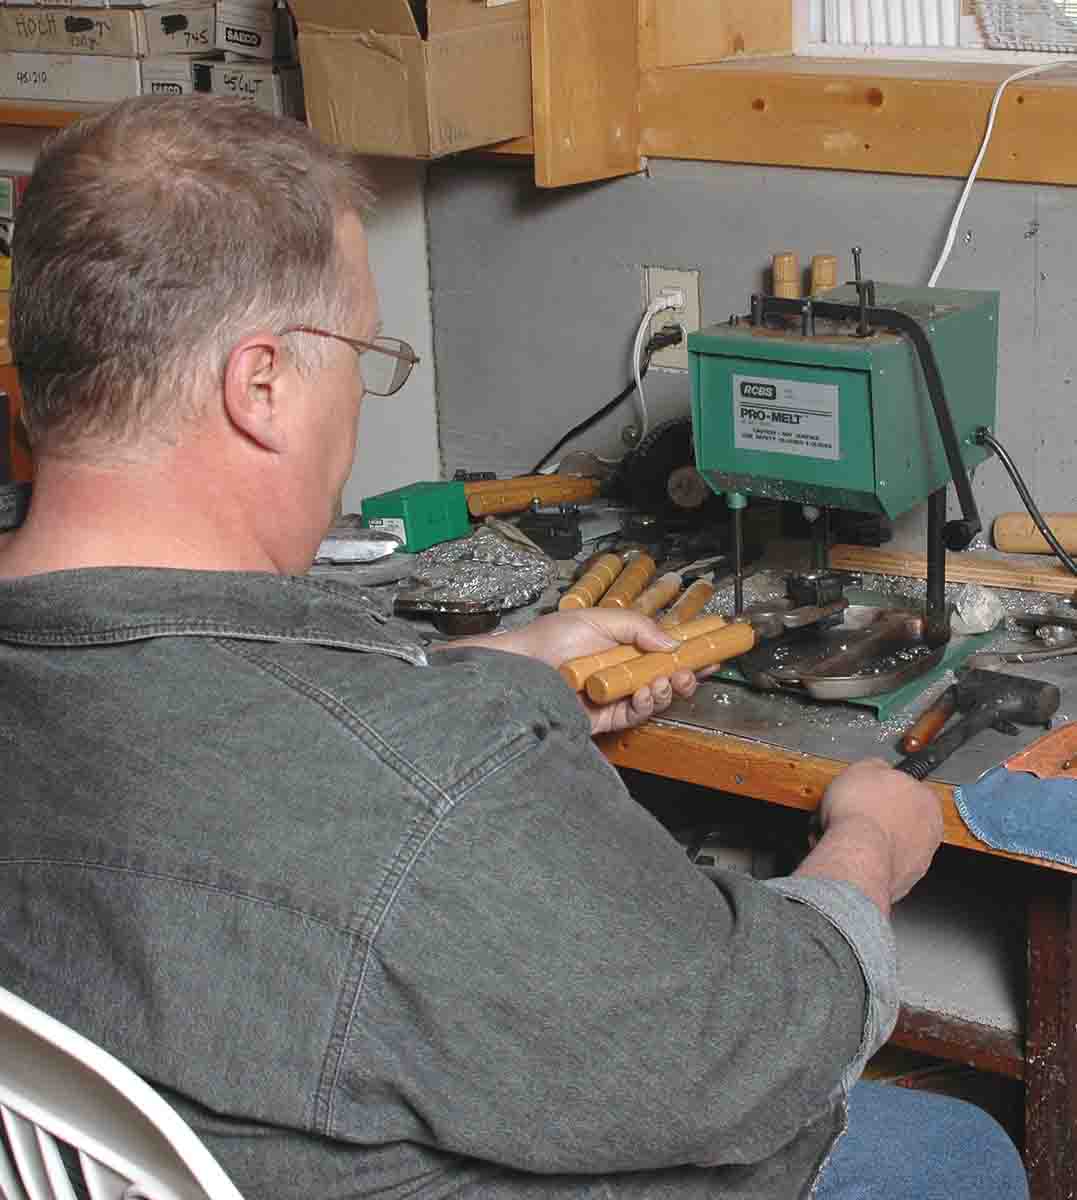
The actual pouring of good quality handgun bullets is simple. Naturally the mould must be brought up to temperature, and there are several ways to do that. The most convenient is to lay the mould(s) in question on top of the lead furnace as it heats up. Another is to preheat them on a hot plate. Certainly the pouring process can be started with a stone cold mould, but that just wastes time. When dispensing the alloy, best results for me come by holding the mould about an inch shy of the nozzle. Most electric lead furnaces with bottom-pour nozzles are adjustable as to the heaviness of the stream dispensed. Mine is opened almost to the maximum, because I want the cavities to fill in a timely fashion. When the sprue puddle indicates the first cavity is filled, then the mould is moved so the next one fills. It’s best to keep the mould level, otherwise alloy will begin to trickle into the second cavity before the first is completely filled. That usually results in a bullet with a rounded base. A generous sprue puddle atop the mould usually indicates the cavities filled properly.
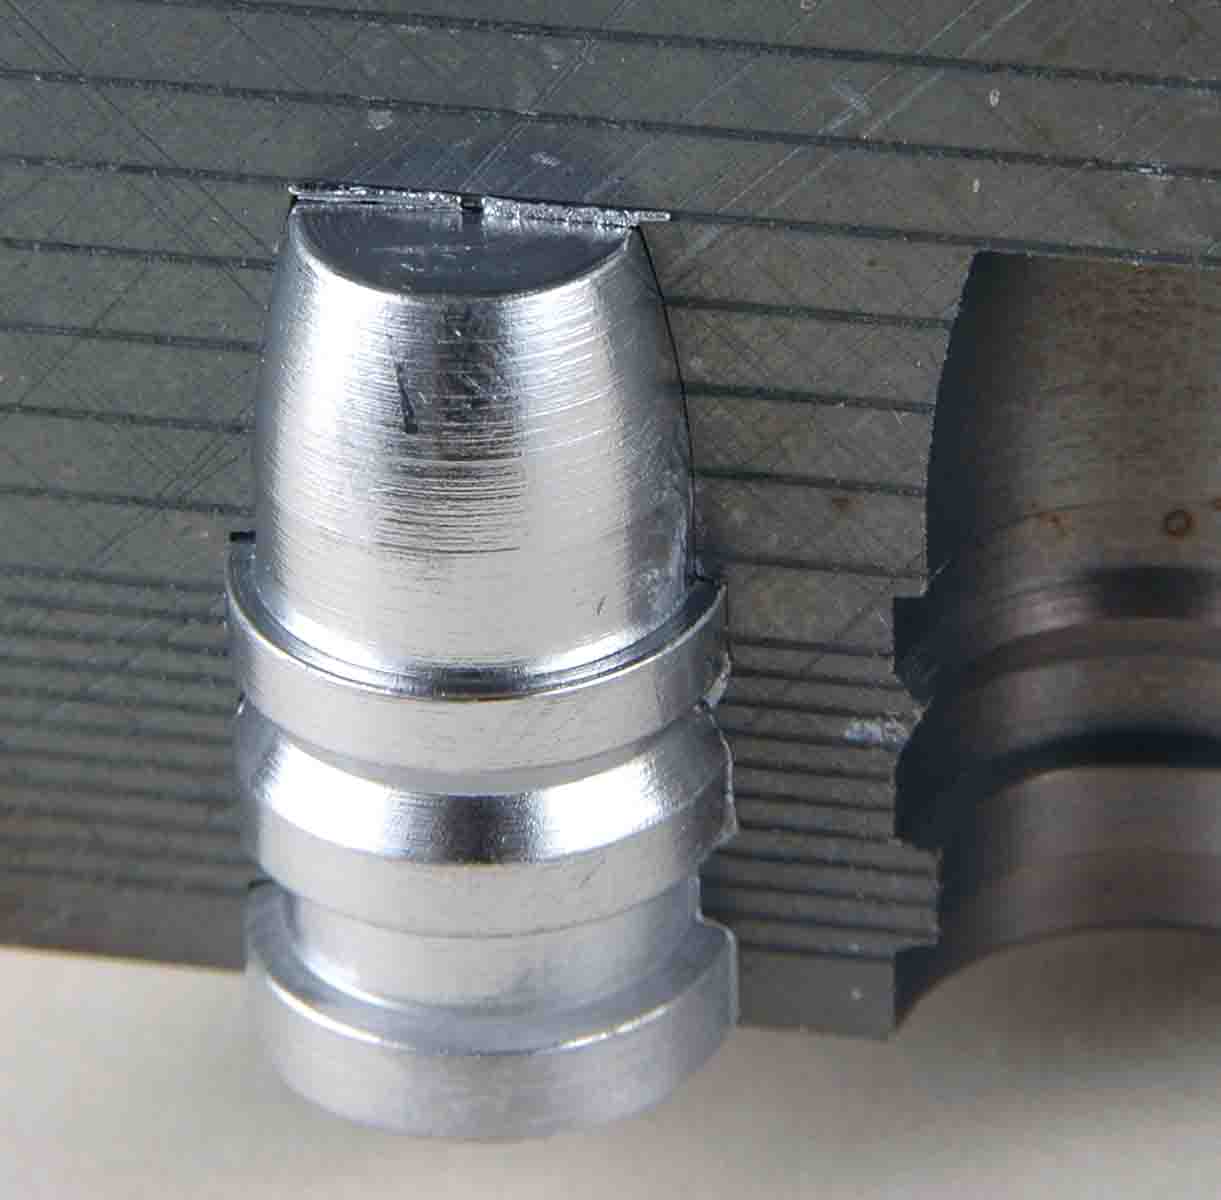
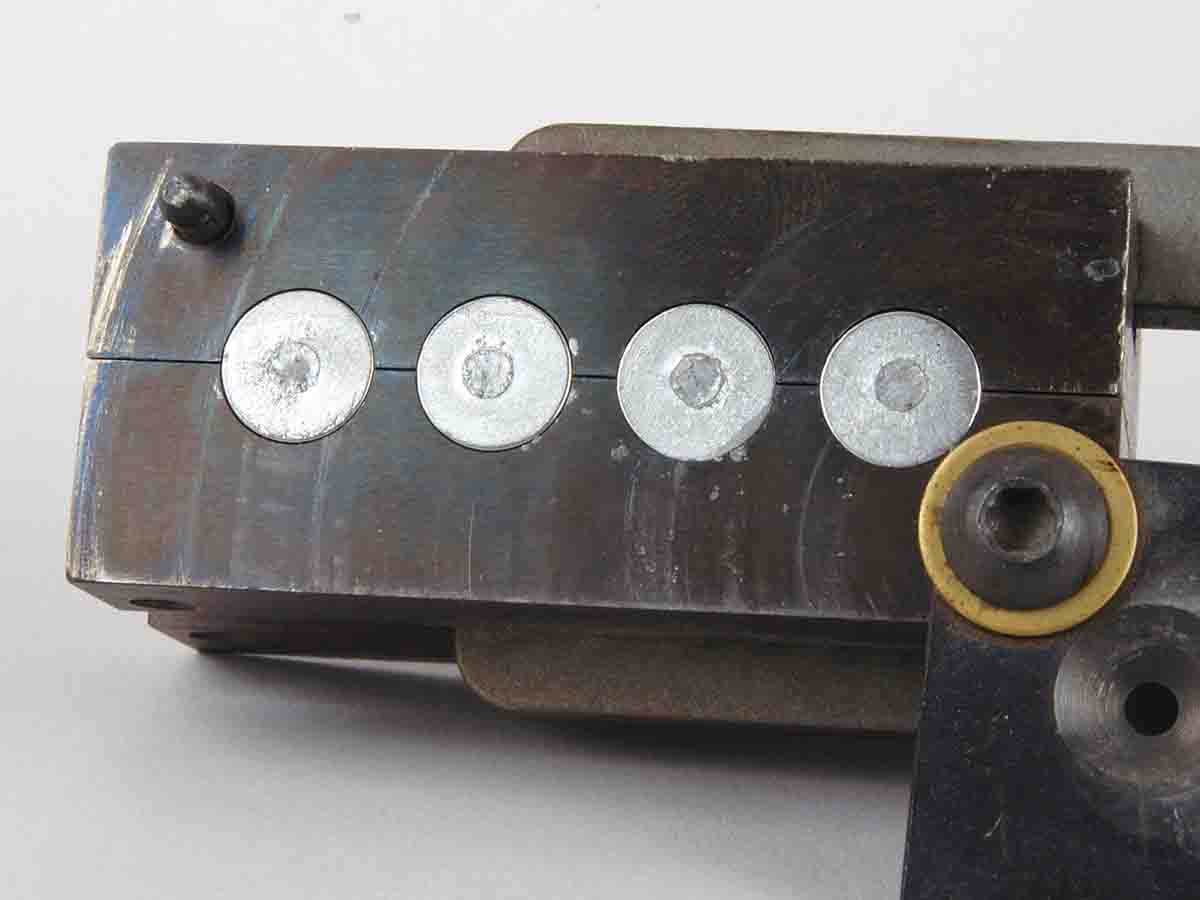
As for venting, the caster needs to understand that messing with the vents can be a double-edged sword. If air isn’t escaping, of course, the mould won’t fill completely; but if the vent lines are opened up excessively, then bullets form “whiskers,” and they’re a pain to break off before the bullet is usable. Tracing out the vent lines with a sharp toothpick is about all I ever do to clear them.
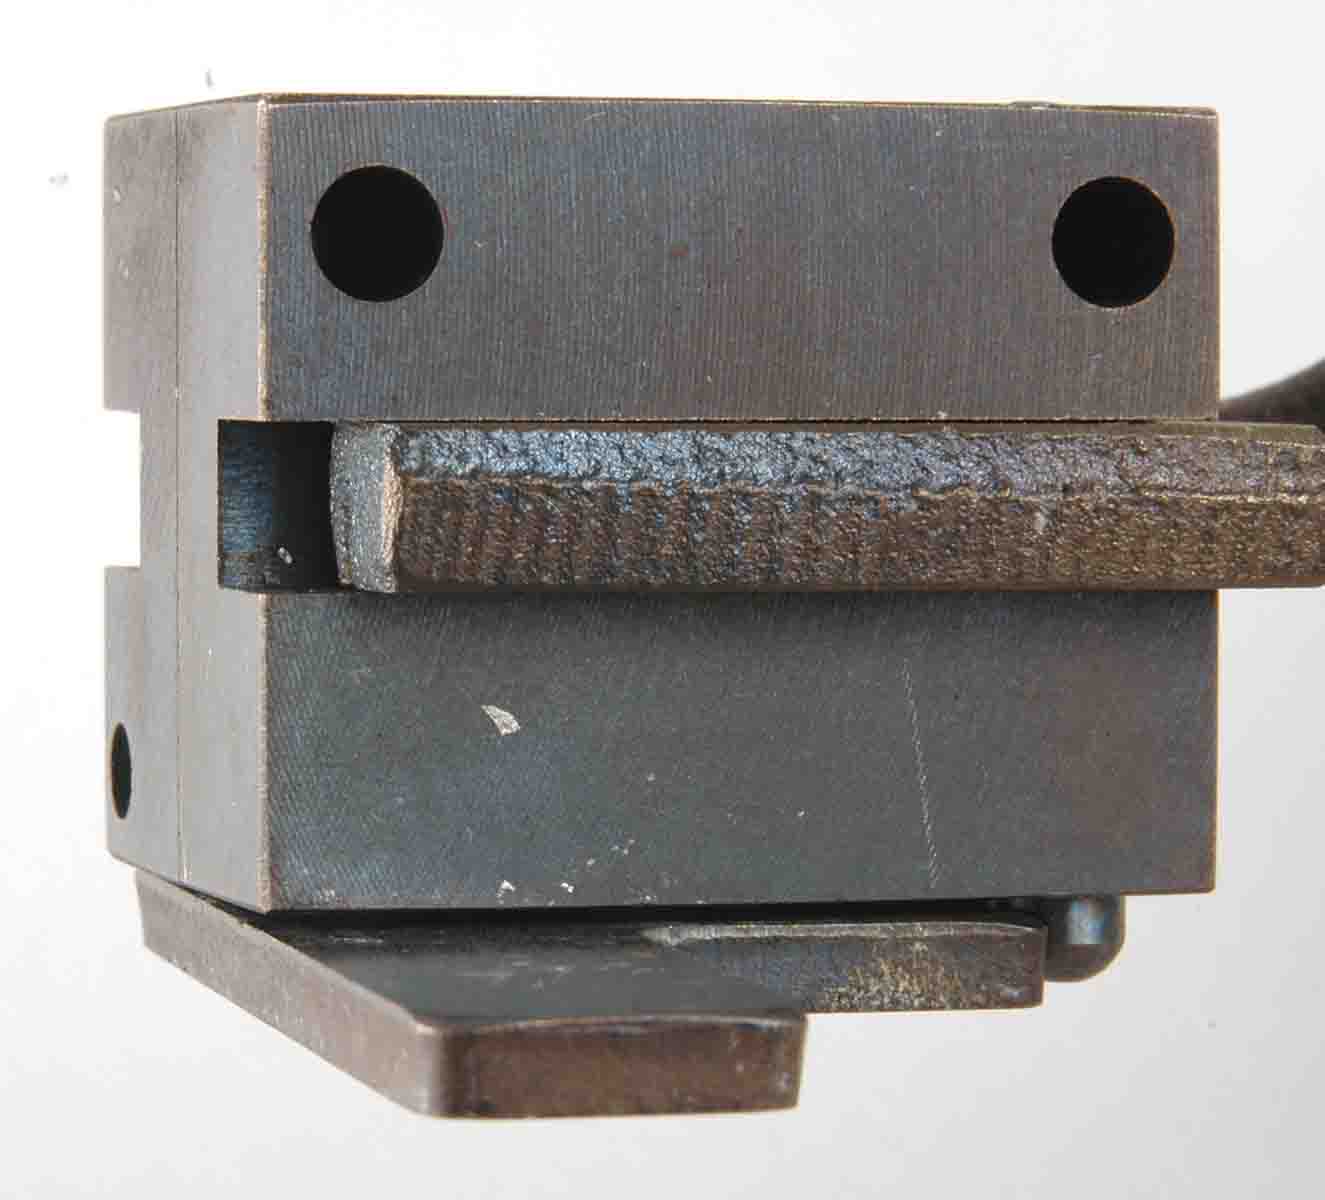
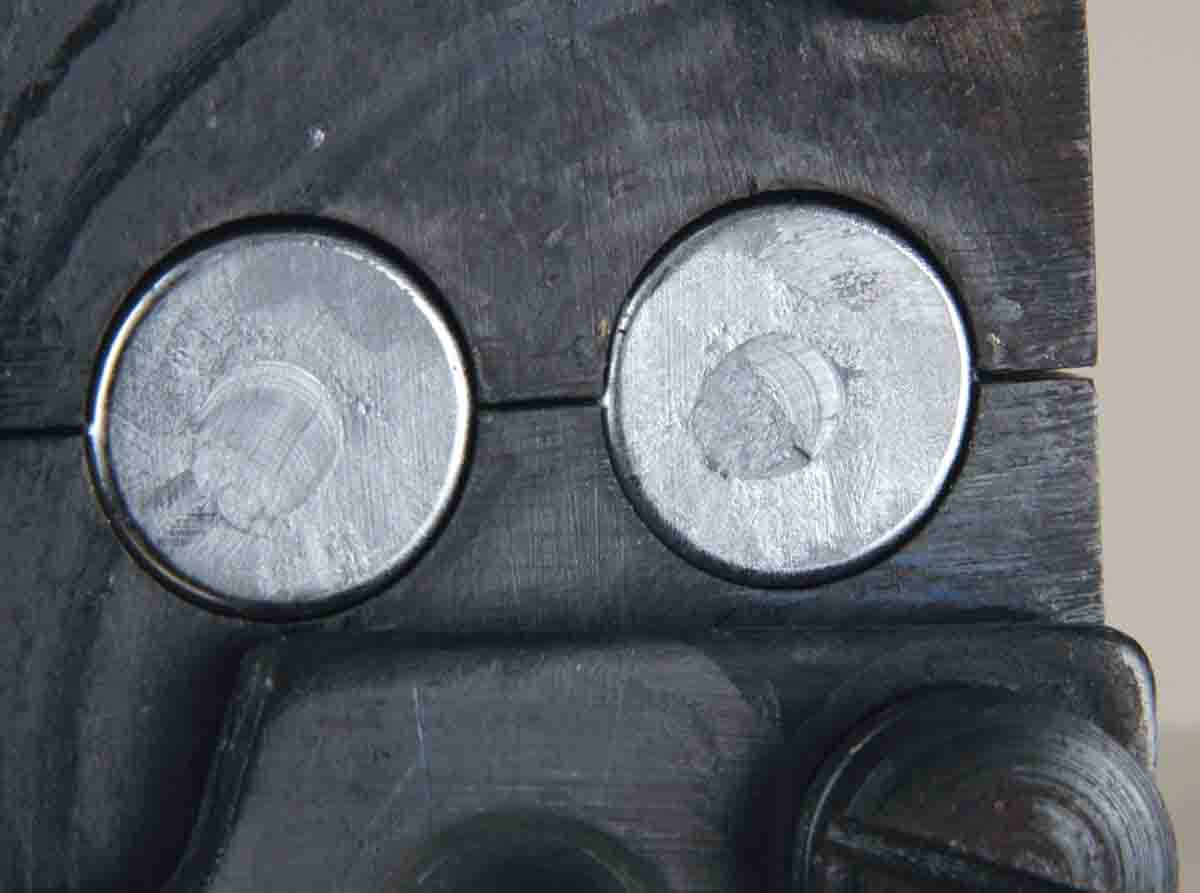
Also the tightness of the sprue plate is an important factor. If it is too tight, not only is it difficult to cut open, but it can be drawn away from the top of the blocks so that bullet bases are not perfectly flat. If it is too loose, then alloy will flow out on top of the blocks making a sort of flange around the bullet’s base. A sprue plate will certainly tell the caster when it is too tight, because as the mould heats to proper casting temperature it will bind, becoming almost impossible to swing. The check if a sprue plate is too loose is likewise simple. Just hold the mould upside down and look at the sprue plate. If it is visibly hanging away from the blocks, then it is too loose. Here’s a tip a reader gave Handloader readers over 30 years ago: After you find that perfect spot of sprue plate tightness, then for reference make a notch on the plate retaining screw at a point that lines up with the screw that in turn secures the retaining screw. Then take the screw out and grind a flat on it to correspond to the notch. When reassembled and locked down, the sprue plate retaining screw won’t work loose.
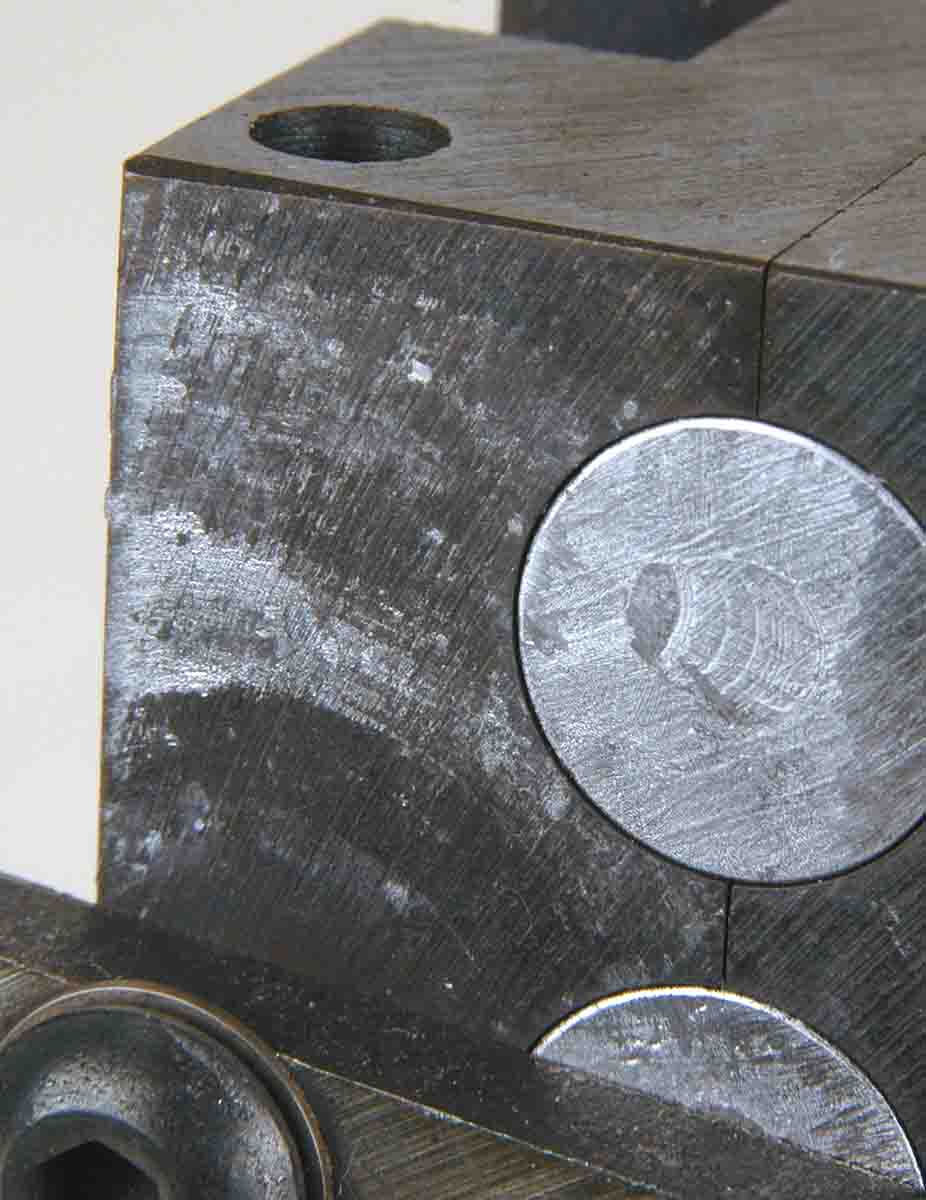
Upon entering the bullet casting fraternity at age 17, my first mould was a single-cavity Lyman 358432 for a 160-grain full wadcutter. It was used to assemble .38 Special loads for an S&W K-38 target revolver. That mould nearly worked me to death, with the corresponding result being I ruined it in the process. As it heated up, lead would smear across the top of the blocks and under the sprue plate. That was caused by my youthful impatience – not waiting long enough for the sprue to cool completely before cutting it. It often had lead smears on top of the blocks and beneath the sprue plate. Those lead smears are difficult to remove and in so trying time and time again, I scratched the top of that mould beyond salvation. That led to the revelation that it’s a lot easier to melt those lead smears off with a blow torch than scrape them off with some metal instrument.
By age 19, I had graduated to a double-cavity mould. It was Lyman 358477 for a 150-grain semiwadcutter (SWC). It greatly enhanced my cast bullet output, but another factor that helped was by that time I was also casting for .44 Magnum and .45 Colt revolvers. By adding double-cavity Lyman moulds 429421 (240-grain SWC) and 454190 (250-grain RN/FP) to my assortment, the trick of filling one mould and setting it aside to cool while a second was being filled was used. Handgun bullets became much more plentiful. I’ve never bought another single-cavity handgun bullet mould (except ones for hollowpoint or hollowbase designs).
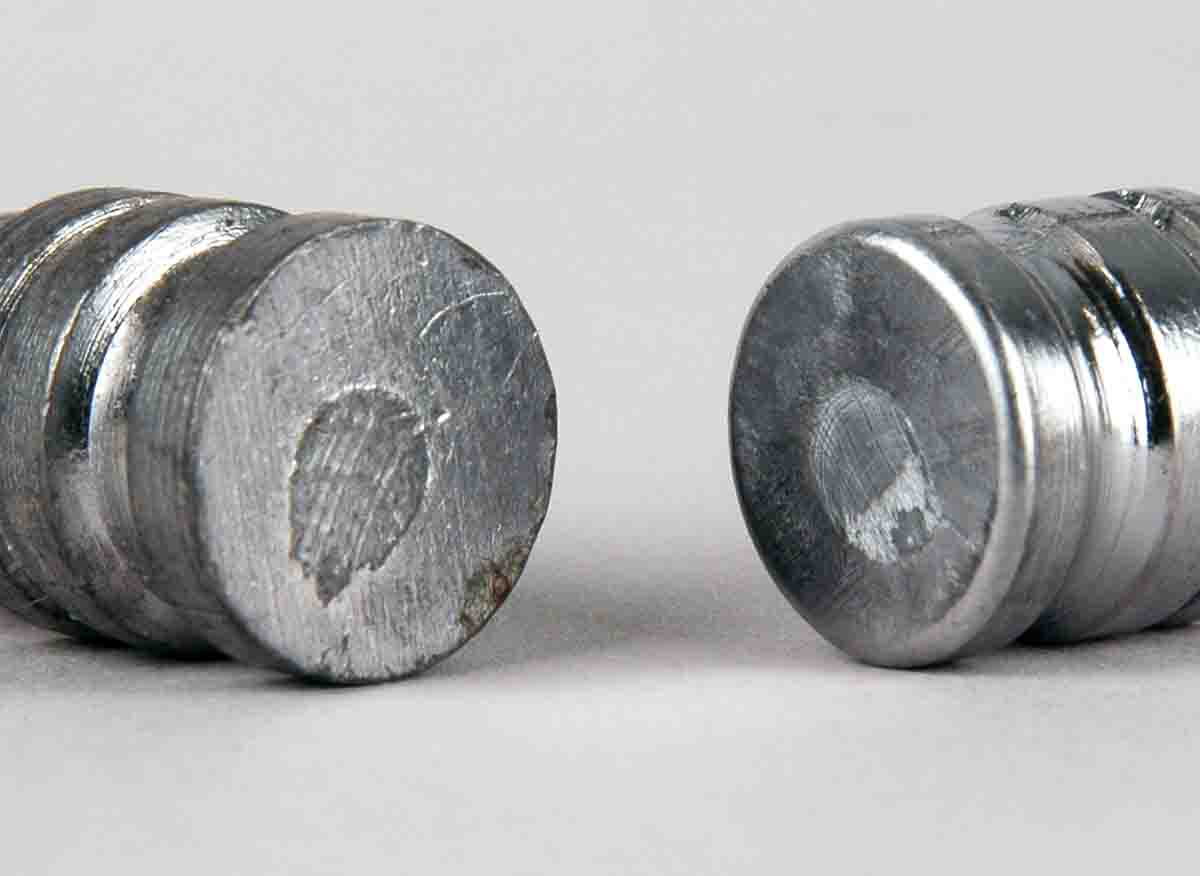
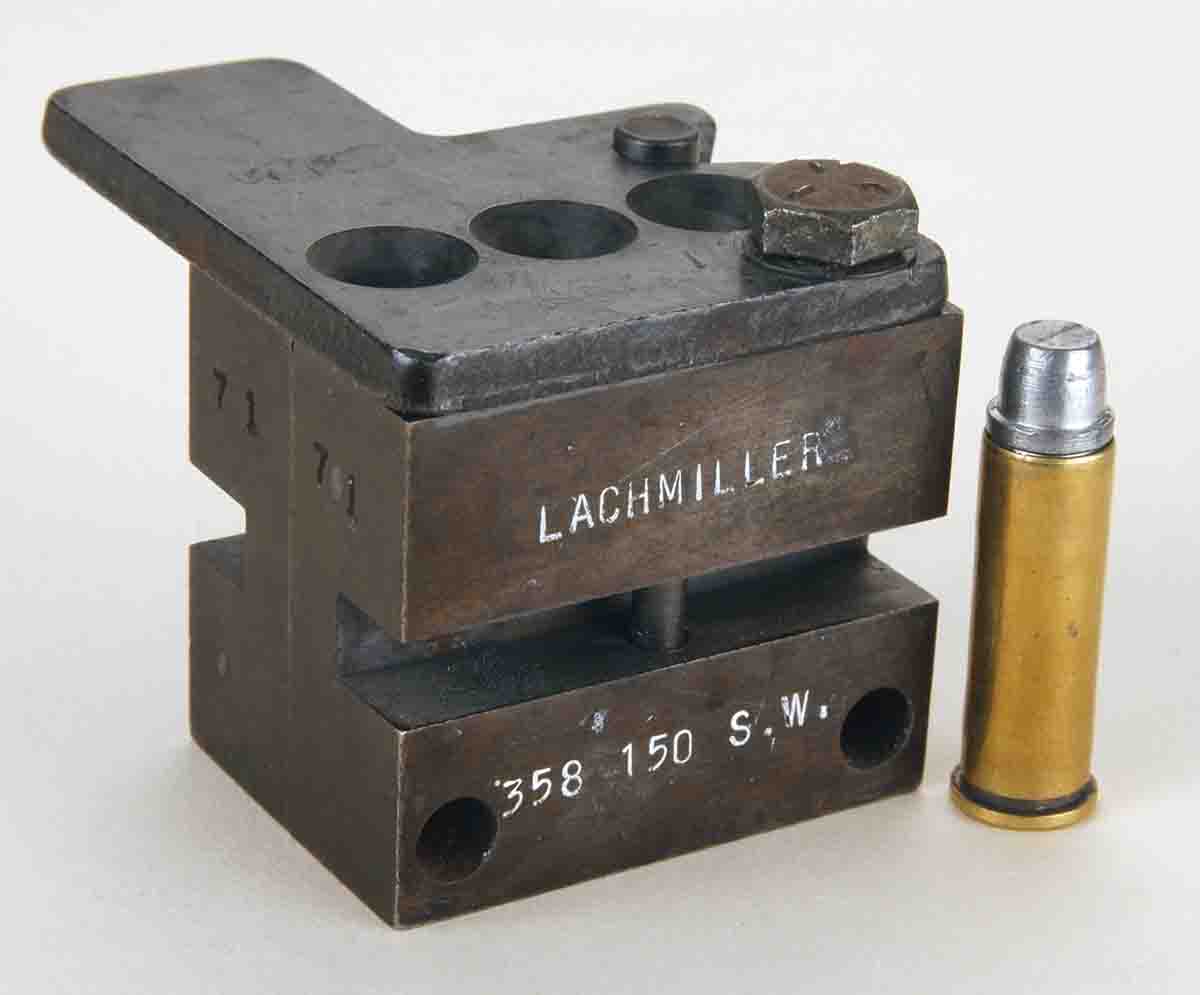
At about age 22, money also became more plentiful, and I tried a Lachmiller triple-cavity mould for a .38, 150-grain SWC. Some indication of how I felt about that one is that all the other above mentioned moulds are long gone, but that three-cavity Lachmiller gem is still with me. And, I’ll still take a three-cavity mould for handgun bullets anytime the right bullet designs are offered in one. To the best of my knowledge, the only bullet mould company offering triples today is Redding/SAECO.
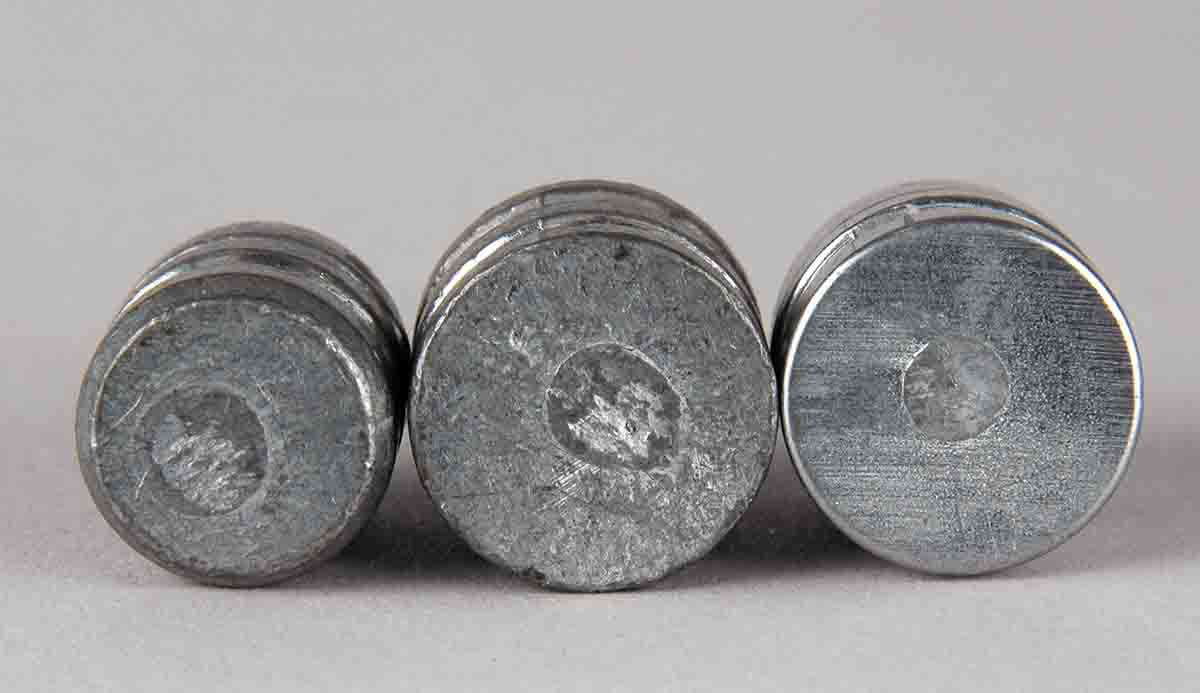
Perhaps it is a personal failing of mine, but quite often I don’t get four good bullets from such a mould with every pour. The “bad” one usually has a rounded base. Conversely, almost always three good bullets drop from my triple-cavity blocks. And if you really want to produce a pile of bullets in a timely fashion, then casting with two identical triple-cavity moulds is the way to go. One of my favorite .44 Special bullets is Redding/SAECO’s 442, for a nominal 246-grain roundnose very similar to the traditional bullet of factory loads. On one occasion a friend loaned me his 442 triple-cavity mould, and using it in conjunction with my own, I was able to produce about 600 bullets in an hour.
That idea of casting simultaneously with two moulds is an old one. It is a technique that works quite well if the bullet designs in them are not large caliber or particularly heavy. For instance, when casting handgun bullets up to, say, .38s, the alternating moulds method will keep them cool enough that the lead smear problem usually doesn’t arise. On the other hand, big .44- or .45-caliber bullets will still heat the moulds to the point that those dreaded smears appear. I’ve even tried to space things out farther and cast with three moulds, but that’s actually too much of a good thing. Then you just end up with small piles of three bullets instead of larger piles of two types.
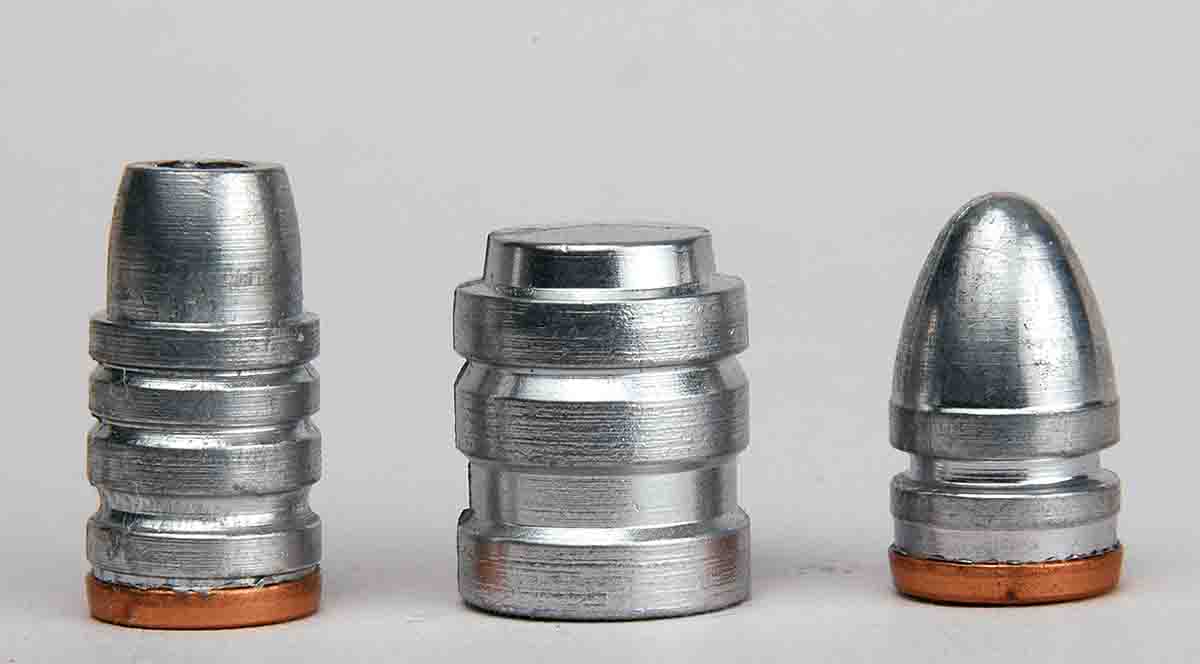
Over the decades I’ve read of many methods used to keep bullet moulds cool enough for long periods of casting. Mostly they have ranged from inefficient to dangerous. I know, for I have tried most. Once, I read about keeping a sponge soaked with cool water at hand. Then when the sprues are taking too long to cool, the sponge is rested on them momentarily. That actually works, but I felt it was time intensive. The idea is to speed up the casting process, and that wasn’t happening with the sponge method. Another time I read about dipping an overly hot mould into a bucket of water to cool it. That actually works too because the heat of the mould evaporates the water immediately. However, dipping that extremely hot bullet mould isn’t a chore for the timid, as it makes a heck of a ruckus when it hits the water.
Also it just doesn’t seem like a great idea to stick a precision tool made of iron into a bucket of water when it’s extremely hot. I’m no metallurgist nor even well versed in metal working or blacksmithing, but it seems like water quenching a bullet mould might be a good way to ruin it. That said, one spring break while in college, I spent most of the vacation casting handgun bullets and used the water quenching method every day. As I remember, in that week or 10-day period, the pile of bullets cast was in excess of 12,000. To the best of my then more limited knowledge, the bullet moulds weren’t the worse for wear. In my youthful inexperience, however, it never occurred to me that every time the mould was cooled so drastically, the bullets that fell from it differed significantly in weight and dimensions from those that fell from it immediately before the immersion. The old adage that wisdom comes with age is so true.
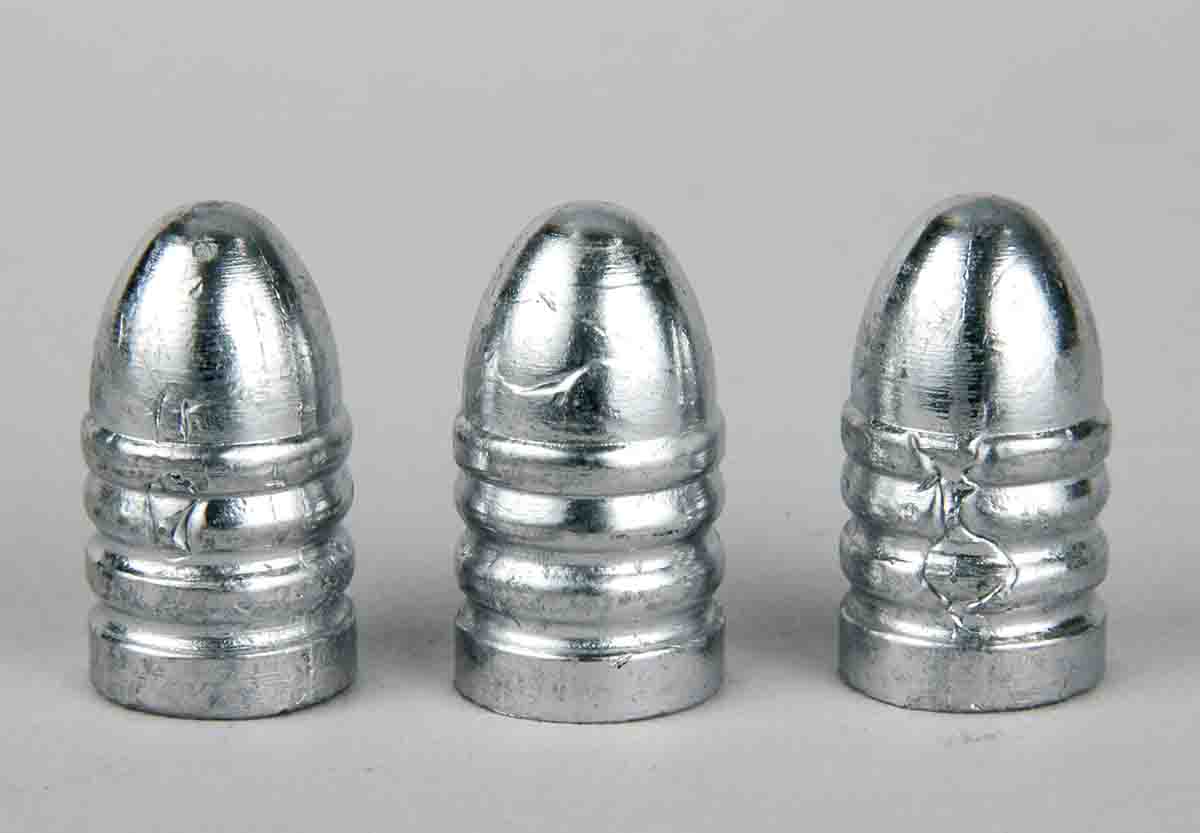
The bottom line here, however, is that it is just not that great an idea to keep a bucket of water around someplace where there’s a lead melting furnace. It doesn’t require too big a splash of water into the molten alloy to cause it to be plastered all over everything, including you. I got away with it during my “great casting session,” but after walking into a friend’s kitchen moments after he introduced water and molten alloy – and watching him scrap it off himself, the walls and ceiling – I grew more respectful of the entire bullet casting process.
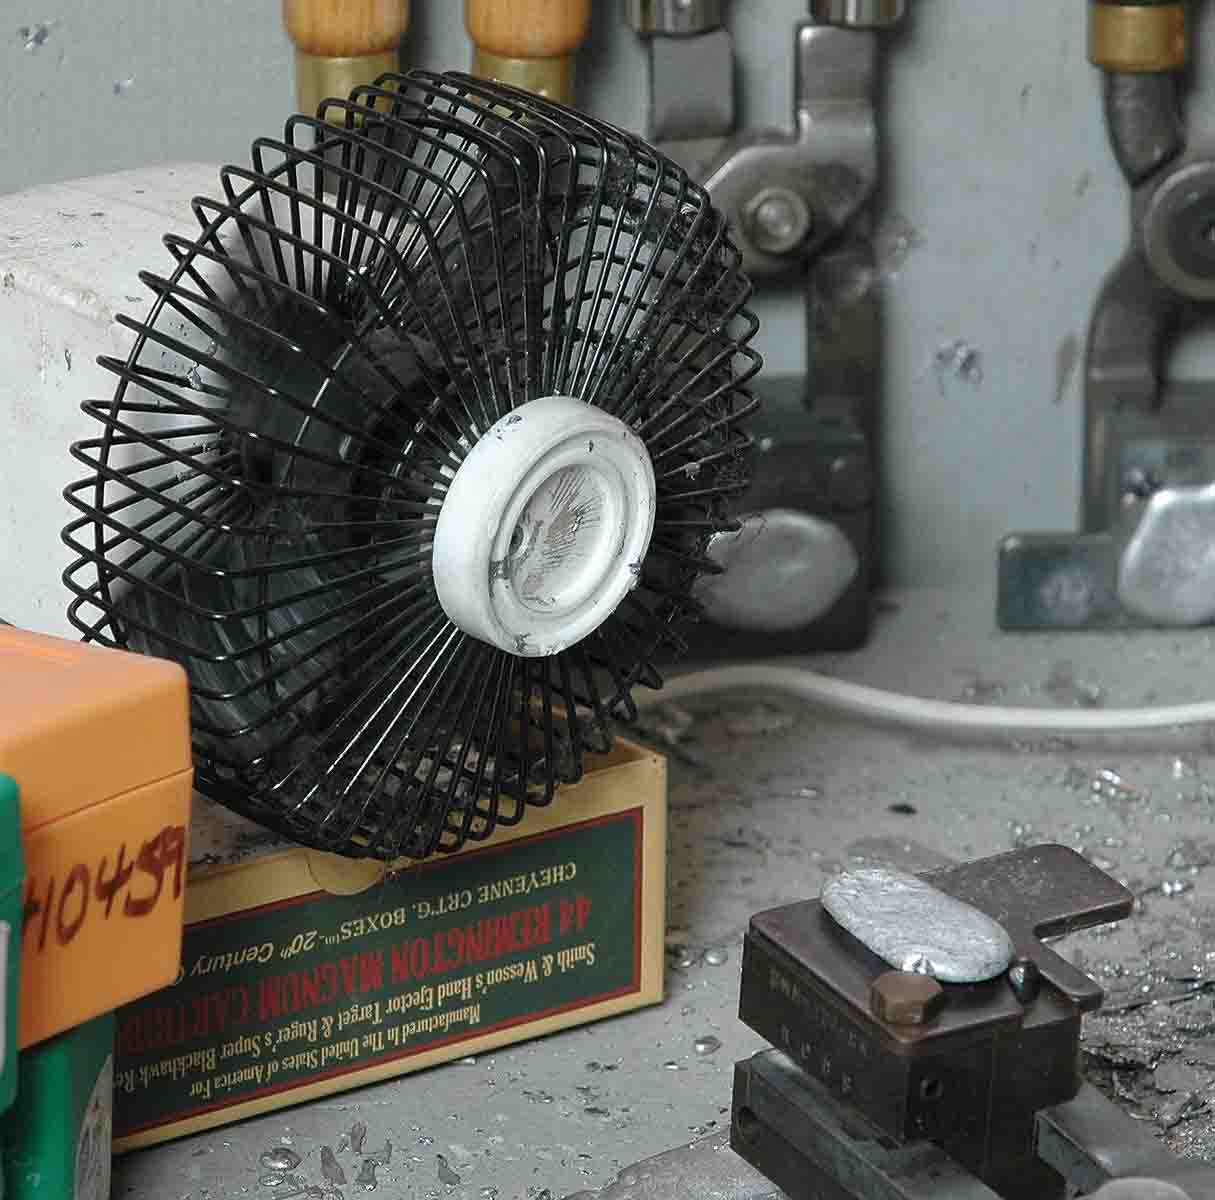
My solution to the over-heated mould problem is air; a strong stream of cool air as generated by a 6-inch, high-speed manicurist’s fan. When casting, say, with two, triple-cavity moulds, the first is filled and set aside directly in front of the fan while the second is filled and so on. By
Something else people sometimes say to me is: “Mike, you’re a dinosaur. Who wants to cast their own handgun bullets anymore when they are so readily available from so many custom casters?” There’s much common sense in that statement. The truth is that as pressed for time as a full-time writer has to be, I shoot lots of commercially produced handgun bullets nowadays. But on the other hand, it is not always easy to find the exact design one wants. Cast SWCs are common as dirt, but try to find, say, a .44-caliber, 200-grain round- nose, which is what I prefer in my Navy Arms 3rd Model .44 Russian. And also, it must be of 1-20 alloy and carry a black-powder type lube. I must make those myself, buying the above mentioned four-cavity mould from Dave Farmer specifically for that purpose.
And I am a dinosaur, having started handloading in a time and place where it was virtually impossible to buy handgun bullets. So sometimes it’s peaceful and even nostalgic to sit down at the lead pot and make some. But when finished, I want there to be a pile of bullets in front of me.

