Practical Handloading
Rifle Brass Hardness II
column By: Rick Jamison | June, 20
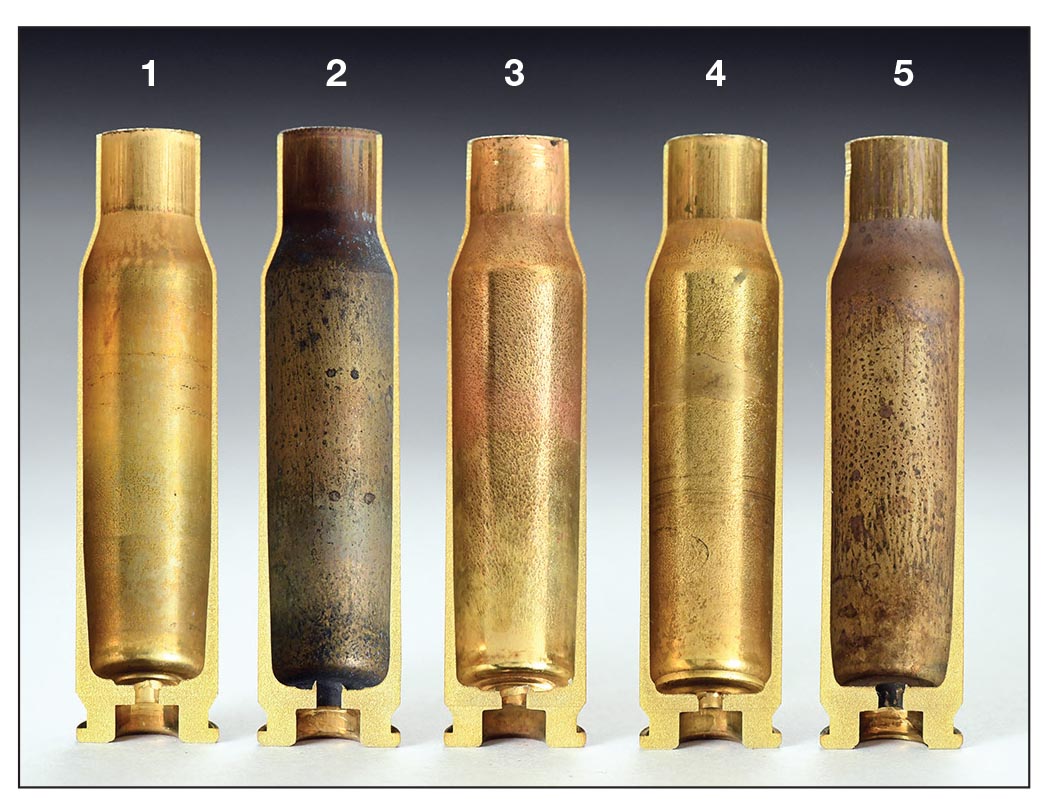
The last column Handloader No. 325 (April-May 2020), began with an introduction of rifle cartridge case qualities and concluded with tables of measured brass hardness from the solid web section of cases. Tests for this current issue involve a measure of brass hardness at three regions of fired cases to reveal how much brass progressively hardens with repeated firings and reloadings. For this, I enlisted the services of the accredited and certified Curtiss-Wright IMR Test Labs (no connection to IMR powders) in Portland, Oregon, for independent results.
During this testing process with IMR Labs, I realized that the numbers reported in the last column were low. First, I had not applied a small but necessary correction factor to cylindrical samples on a V-block. Second, even though I had seen others do it, I found that the band of relatively solid brass in a case head is too narrow for reliable results from the side of a case. The distance between the bottom of a primer pocket to the powder column space is only .060- to .080-inch thick.
Readings from the side of a case are easily influenced by the precise location of the indenter. One hundred kilograms of force (220.46 pounds) on a 1⁄16-inch penetrator ball is a lot (Rockwell B test), and if it is applied over the void of a primer pocket or powder space it gives an erroneous result. It is regrettable that I made the error. At this point, all I can do is correct it and apologize to readers and to Wolfe Publishing Company.
Moving on to the current test to quantify the brass hardening effects of firing and reloading a case multiple times, I chose the Nosler .308 Winchester case, a charge of 40.0 grains of IMR-3031, a Federal 210 primer and seated a 165-grain Sierra hollowpoint boat-tail (HPBT) bullet to an overall length of 2.750 inches. One case was sized, loaded and fired two times, another case five times, and a final case 10 times. All cases were new, unfired brass at the start. The RCBS sizing die was adjusted to touch the shell holder when the ram was at the top of the stroke for maximum full-length sizing. The 24-inch test barrel was a Wiseman chambered with a SAAMI specifications reamer on a Howa action.
.jpg)
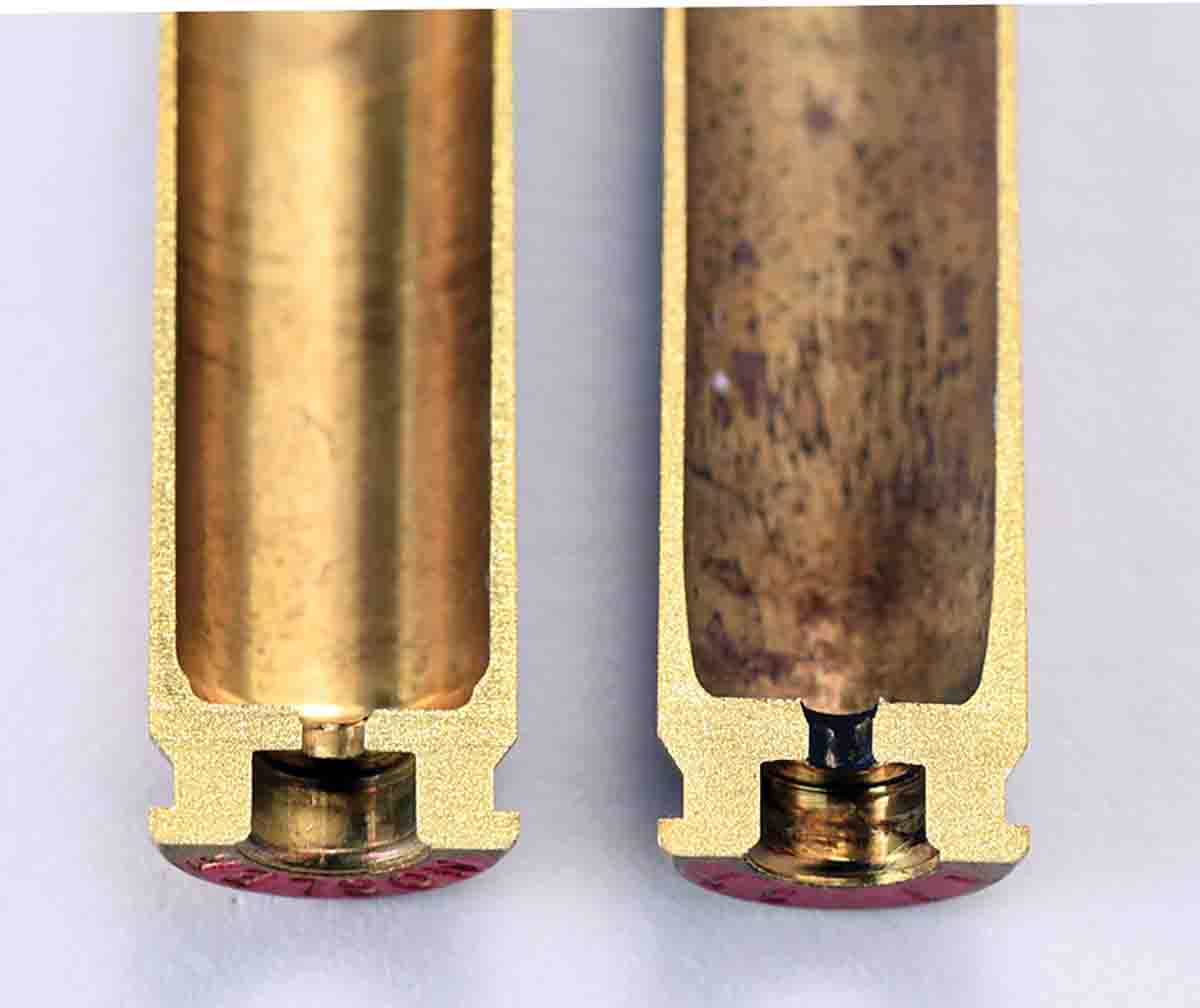
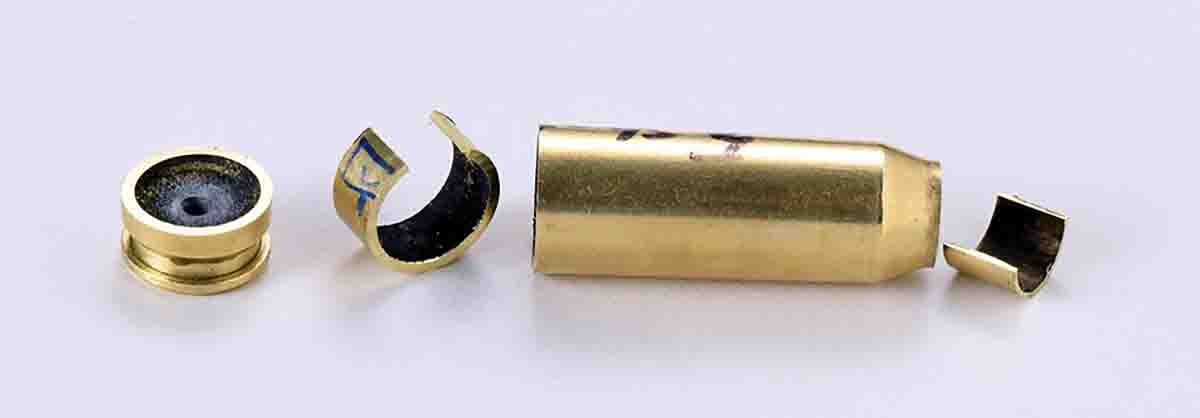
The 10-shot case partially separated on the last shot, so it was obvious where the expansion ring was located. IMR Test Labs measured the cases for hardness in the expansion ring and neck regions at each stage of firing and reloading. Hardness measuring for much thinner case necks and walls was limited to a micro hardness method with a different “Vickers” scale.
For the convenient Rockwell test to be applied, brass must be at least 10 times thicker than the depth of penetration for a B scale reading. It can work okay for cartridge case base/web testing if a case is sectioned for the thickest possible block of brass. However, case necks and walls range to borderline and below for this thickness standard. Hence, a change in hardness test methods is necessary.
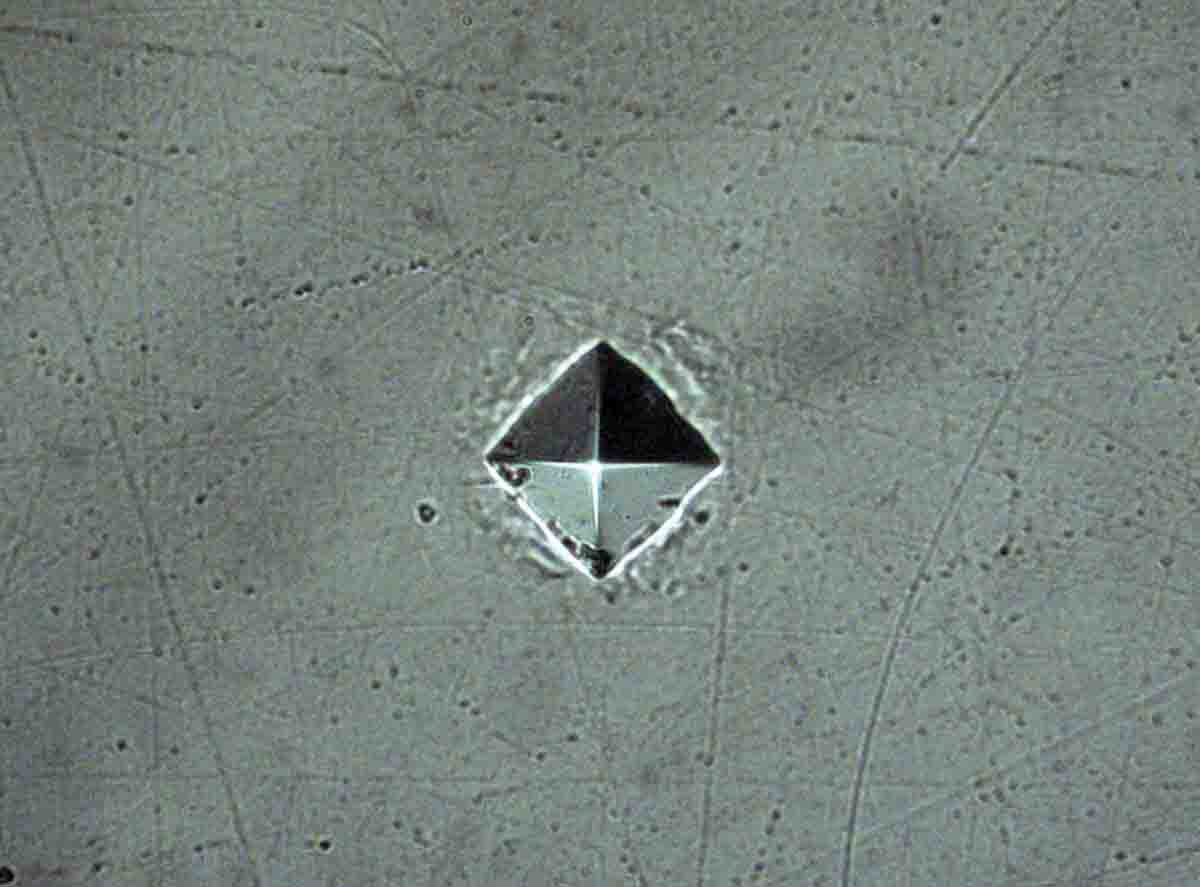
With a Vickers test and under a specific pressure, a small pyramid-shaped diamond penetrator is pressed into a brass sample on a microscopic level. The width at the mouth of the penetration is then measured at the brass surface under a microscope and the measurement translated to the Vickers scale.
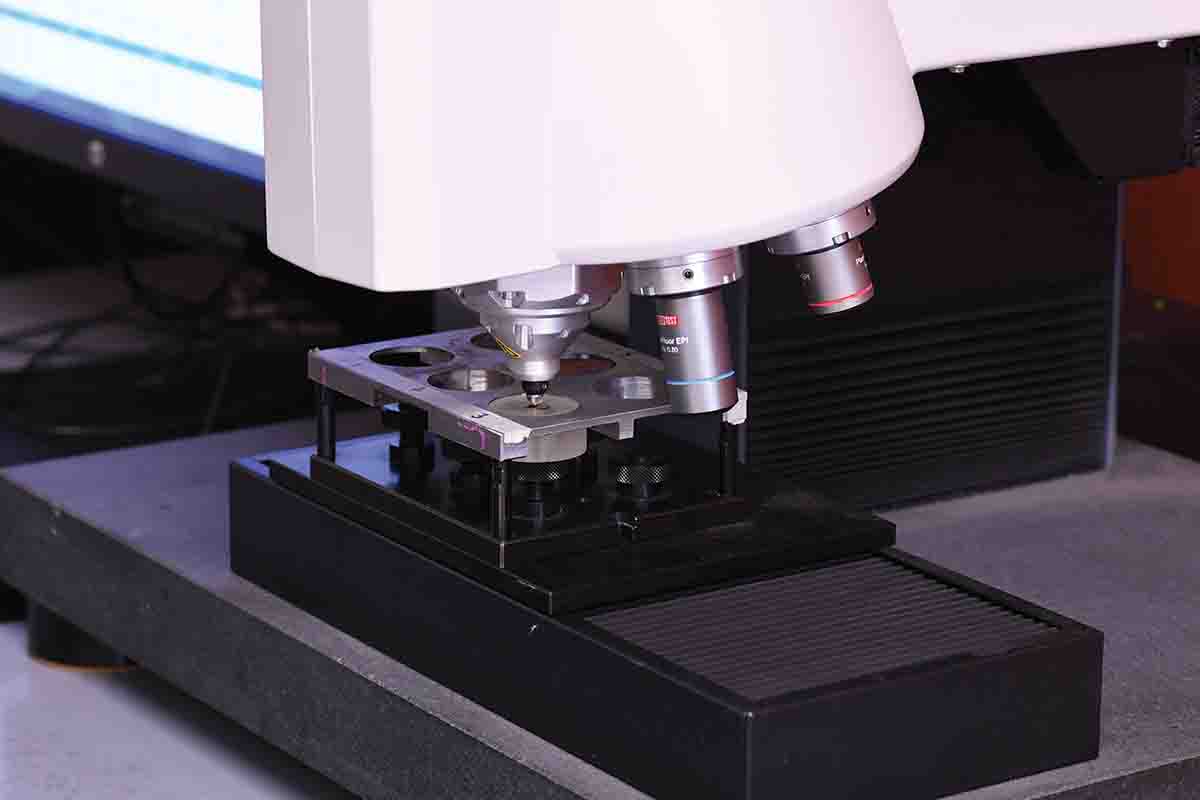
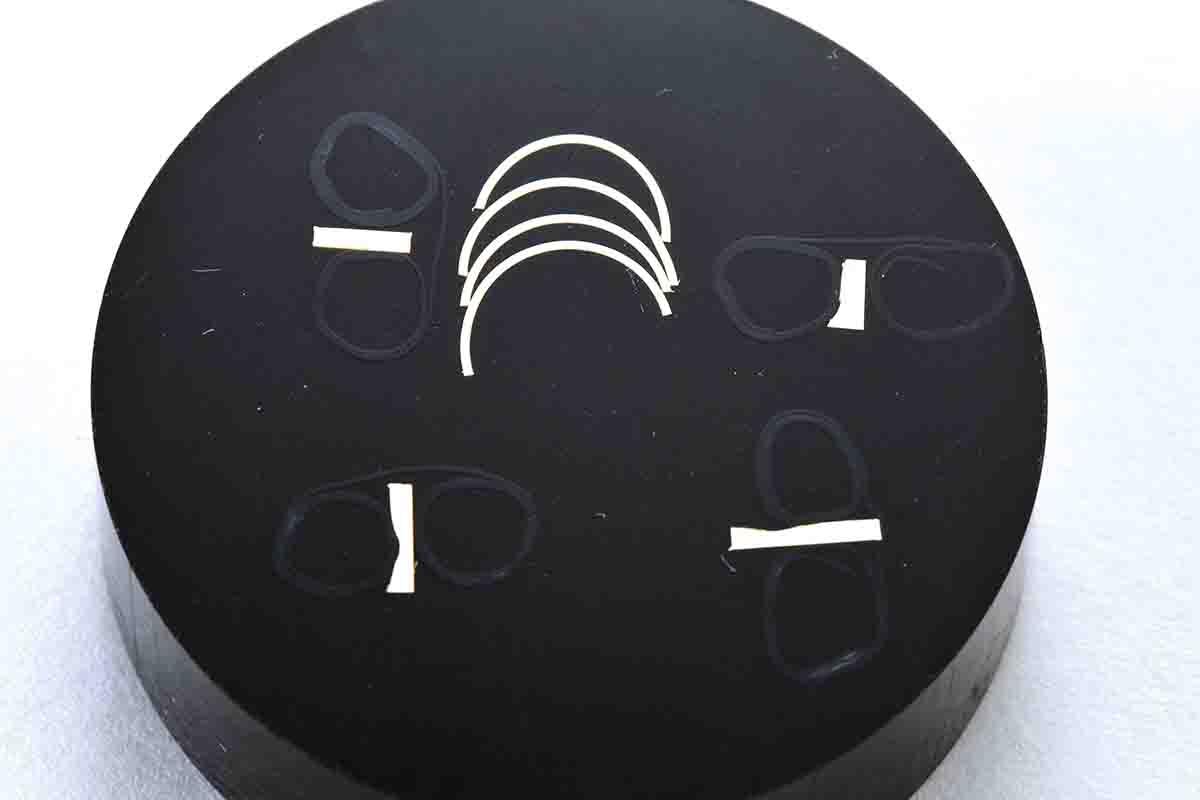
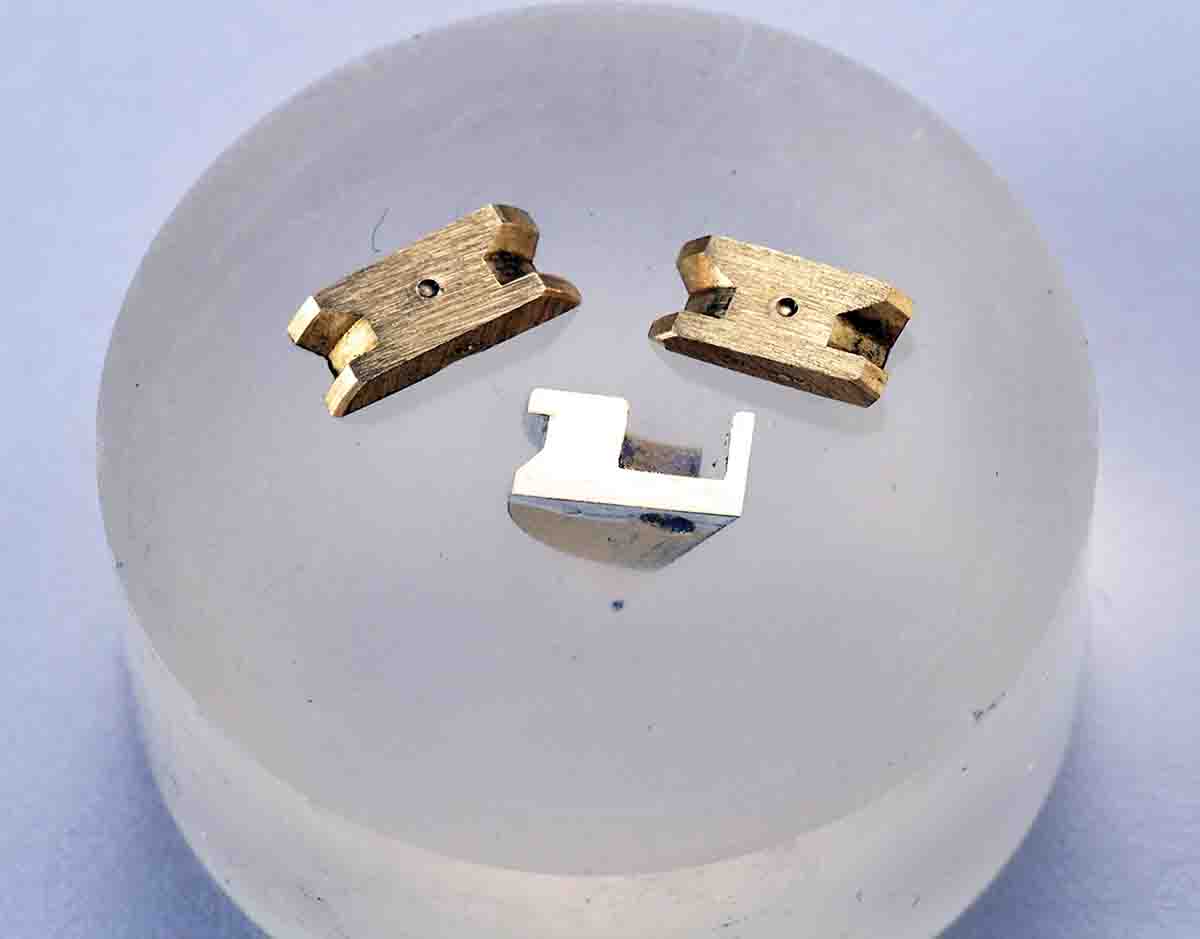
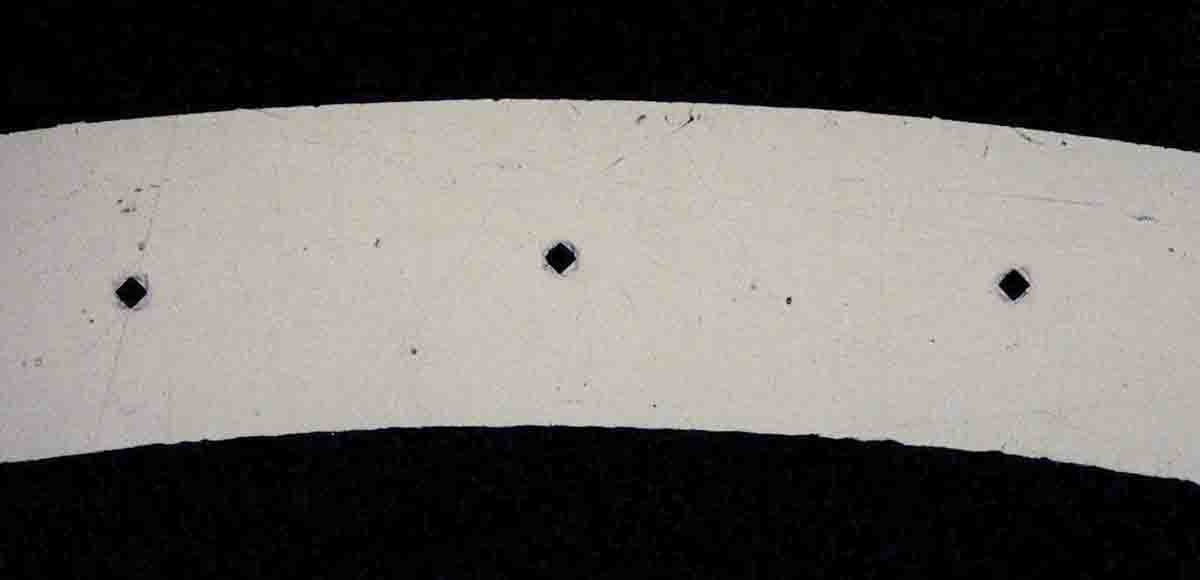
One advantage in using the microscopic Vickers scale is that the penetrator is so small and with enlargement on a monitor, even the center of a longitudinal section of case neck can be targeted precisely for hardness testing. However, sample preparation for Vickers testing is a bit involved and the equipment required is expensive. The Vickers testing at IMR Labs involves cutting out small sections of brass, then positioning them in a shallow circular container 1.500 inches in diameter. The samples are then surrounded by a special liquid resin. When the resin hardens, the surface is finely polished to a high sheen along with the ends of the exposed brass samples. My sample measures .448 inch thick.
This flat circular resin block with samples is then placed into a holder beneath a turret. The turret houses both the penetrator and various lenses that can be rotated into position. After each brass sample is aligned, the penetrator is inserted and withdrawn. Then the enlarging lens is rotated into position to project an image onto a computer screen. The width of the pyramid-shaped void is then measured at the surface of the brass. The diamond penetrator indents are so small that even with the high sheen, one cannot see them with the naked eye.
The charted results of this testing clearly indicate how much brass hardens with repeated reloadings. The case neck went from 125 to 155 to 168 to 177 on the Vickers hardness scale with 0, 2, 5 and 10 reloadings. The expansion ring went from 197, 195, 205 to 213 and then partially separated on the last, tenth shot.
The Vickers scale is entirely different from the Rockwell B and one scale cannot exactly be translated to the other. However, IMR Labs provided an approximate Rockwell B conversion from the American Society for Testing and Materials (ASTM) for the Vickers tests, and the Rockwell B readings are in the table. As can be seen, the expansion rings became so hard on the five- and 10-shot samples that the result in Vickers could not be converted to Rockwell B.
IMR labs also provided a check on a section of the base of a new brass case using its Rockwell B tester as a check on my own, now-modified, Rockwell B testing and also applied the micro hardness test using the Vickers for reference. It is important to note that throughout even the 10-shot string, when the case separated, the primer pocket remained tight as indicated by a Ballistic Tools primer pocket gauge.
Again, the ASTM table for going from Vickers to Rockwell B is said to be only approximate. Second, brass is not completely homogeneous and test samples will vary in a matter of a small separation. While hardness usually varies by one or two points at different sample locations on the Rockwell scale, I am told that a four-point variation in a sample is not uncommon. Variations are even larger with Vickers testing because the area tested is so small and the numbers larger. You can see in the Vickers table that after two reloadings the number indicates slightly softer brass at the expansion ring than with the virgin case. No doubt this two-point variation is a result of brass difference at the points of testing. Hardness readings in the table are an average of three test samples.
Small variables are the nature of hardness testing, just as with testing for velocity or pressure. Still, using either system, the progression and amount of brass hardening with successive shots is clear. They illustrate that brass in the case neck region is appreciably softer than the base or head with virgin brass. However, after 10 reloadings the case neck is almost as hard as the base. The neck hardens considerably while the solid base does not.
Another important point is that brass gets harder at a successively lower rate as it hardens. On the first two shots, the case neck went from a Vickers reading of 125 to 155, a difference of 30 points. With three more reloadings it went from 155 to 168, a difference of 13 points, and with five more reloadings it went from 168 to 177, a difference of only 9 points. This might support the reason why some high accuracy shooters anneal (soften) case necks after every one or two firings.
Another surprising aspect is that based on the Vickers scale, brass at the expansion ring hardens much less (16 points) than does the case neck (52 points) over 10 firings. Even though the brass cracked causing the case to separate at the expansion ring with a Vickers reading of 213, the case neck was still not that hard at only 177. In fact, at 177 it was still softer than the expansion ring section of a virgin case. From this, one might assume that a case neck is likely to split when the Vickers reading reaches 213.


