Practical Handloading
Bullet Seating - Where Are the Lands?
column By: Rick Jamison | April, 21
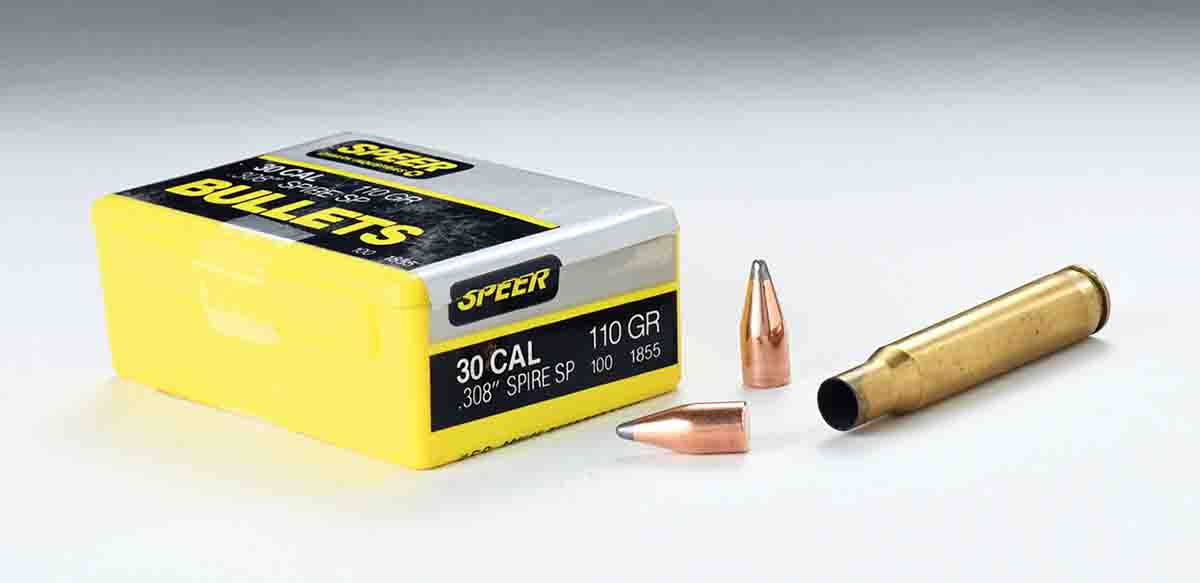
Important lesson: I was a beginning handloader seating 110-grain spire point bullets for a .30-06. The lightweight bullets were so short that they could not be seated to a normal OAL, so I seated them as long as I could and still have them secure in case necks. This seating depth worked fine for my 1917 Enfield. Then I tried the same bullets and OAL in a Savage rifle. Even with the short OAL, a bullet wedged into the lands on chambering. Extracting the unfired round pulled the bullet, spilling powder into the lug recesses. A rod was used to punch the bullet out of the barrel, but powder in the lug recesses rendered the rifle inoperable in the field.
I learned that not only was OAL important, the location of the rifling lands relative to seating depth was too. The new .30-06 barrel had a shorter throat than the old, worn Enfield. While the bullets were short, they had the longest possible full diameter.
Precision-minded shooters want to know the seating depth at which a chambered round makes land contact, not so much for reliable function as for accuracy. That bullet-to-land contact relationship provides a baseline reference for optimum bullet seating. We want to experiment with different seating depths to see which provides the best accuracy, and then be able to repeat it in the future. Small and precise seating depth increments become significant, so an accurate method of measurement is important.
Seating depth measurements are taken from either the tip of a bullet or at some location on the ogive. Measurement from a bullet’s tip for OAL is the most used and convenient. However, bullets, even those from the same box, are not all the same length. Pointed lead tips become flattened. Some hollowpoints have metal extruded a little more. Sharply-pointed plastic tips can be distorted. All create slight bullet length variations.
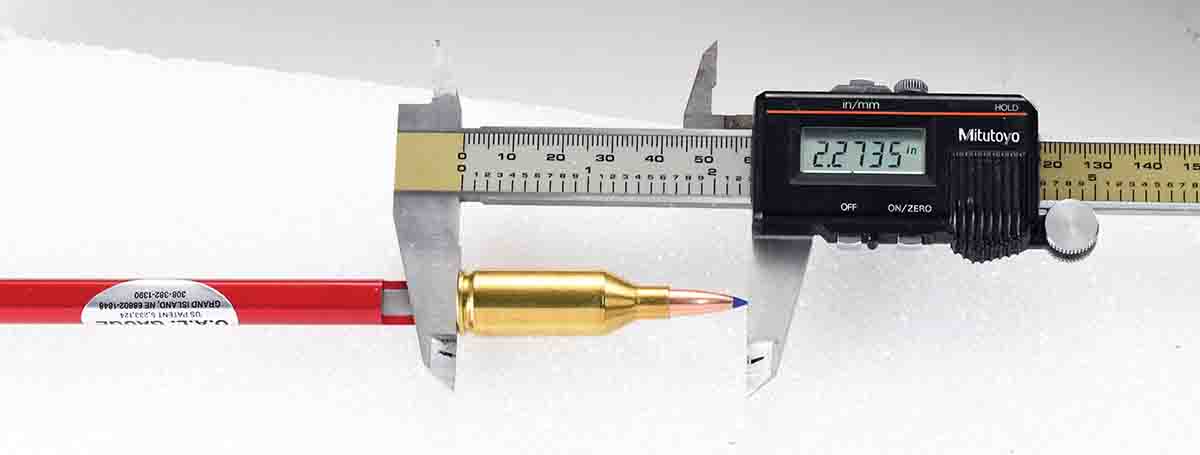
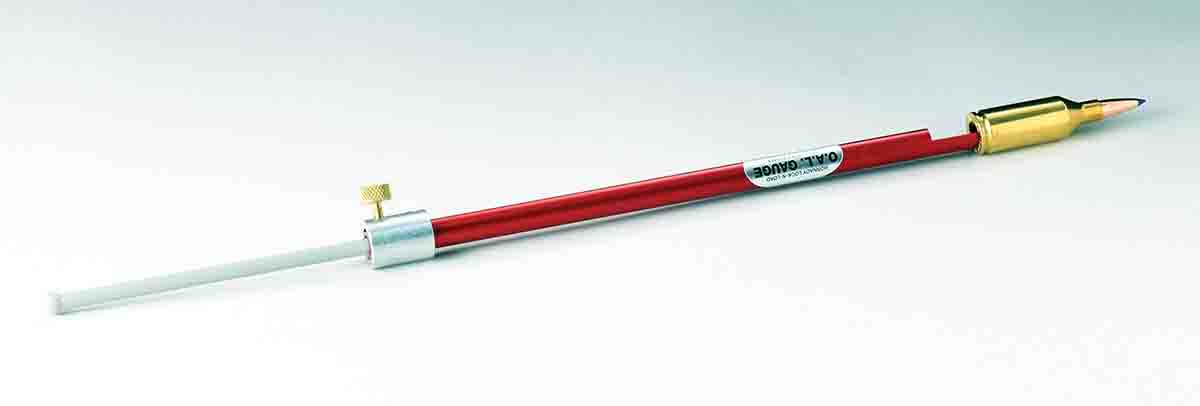
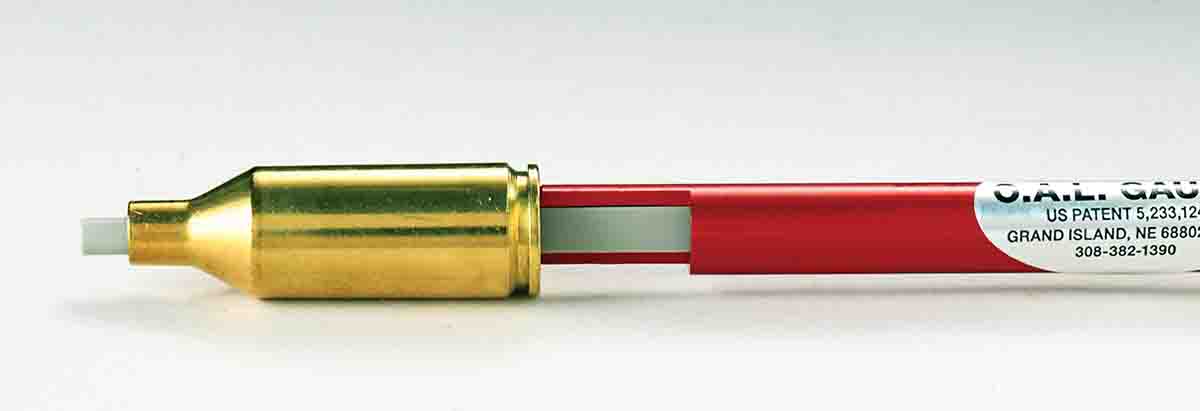
The one I use most often for hunting rifles is one of the easiest to use, the Hornady Lock-N-Load OAL Gauge. It incorporates a brass case drilled and tapped at the rear to attach a sleeved bullet push rod that passes through the case. Insert the unit into a very clean rifle chamber and use the push rod to hold a bullet next to the rifling lands. The push rod can be locked in place with a screw on the sleeve. The unit is then withdrawn from the rifle and OAL from the bullet tip can be measured with a caliper. If you prefer to measure from the ogive, Hornady supplies aluminum “hole” attachments made to fit onto a caliper jaw.
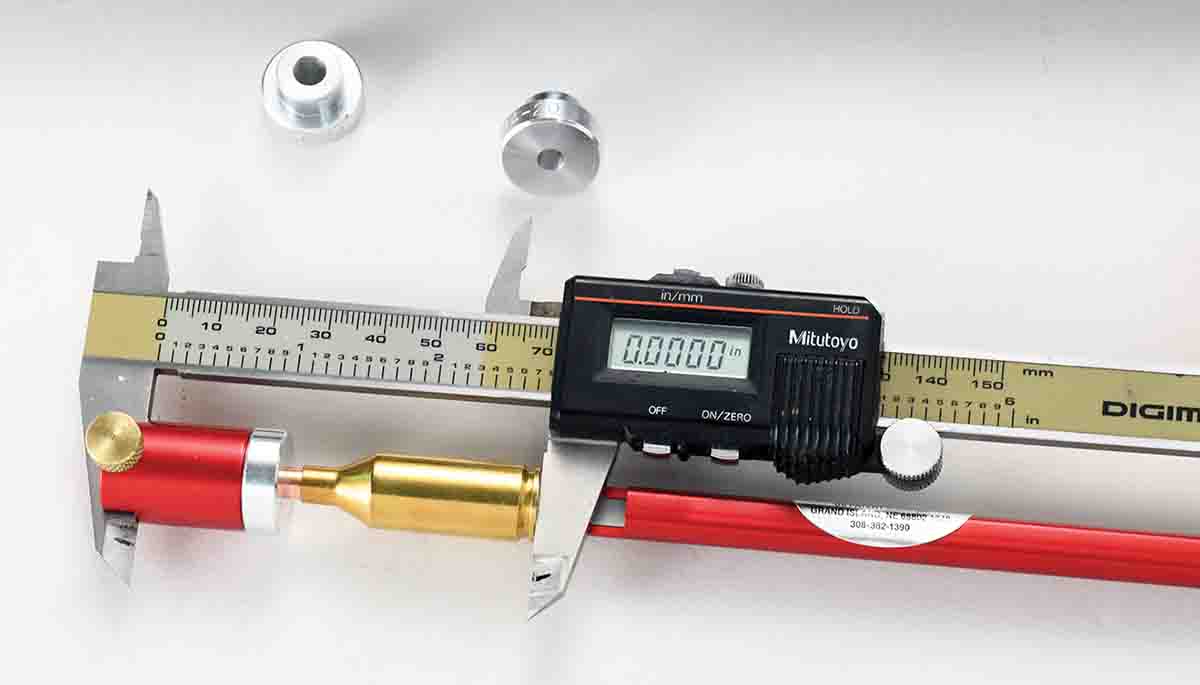
This tool incorporates one of the actual bullets being loaded, so that the bullet/land contact point is truly valid. I use the same bullet for a given cartridge and keep the case and same measuring bullet in a Ziploc plastic bag for any future reference. Because I always use the same bullet, I measure with a caliper from the bullet’s tip rather than on the ogive. This is more convenient than attaching the device to the caliper jaw.
The Hornady tool is a popular device for discerning the land- touching distance in a rifle. However, there is a way to use the tool that provides a distinct advantage and is not mentioned in the instructions. Rather than just push a bullet into the chamber per the instructions, it is far better to use the tool in conjunction with a lightweight wooden dowel passed through the barrel from the muzzle. Use your fingertips of one hand on the dowel near the muzzle and the other hand’s fingertips on the push rod at the rear, one can quickly insert and back the bullet off the lands many times. The user gets a decidedly tactile and responsive feel this way. With it, you can feel precisely how the bullet approaches and engages the lands. By repeating it, you are assured that there is no mistake in the bullet’s contact point. The difference the use of the dowel makes in measuring is surprising.
The earliest tool I used that incorporates the use of a hole to measure from a location on a bullet’s ogive is available from Brownells. It resembles a large hex nut with six different hole sizes drilled into each of the six flats. Mine has holes for .22, .24, .25, .27, .28 and .30 calibers. The bullet tip can be inserted into the hole and a caliper is used to measure from the case base to the opposite flat on the “nut.” If desired, you can use it to measure only a bullet.
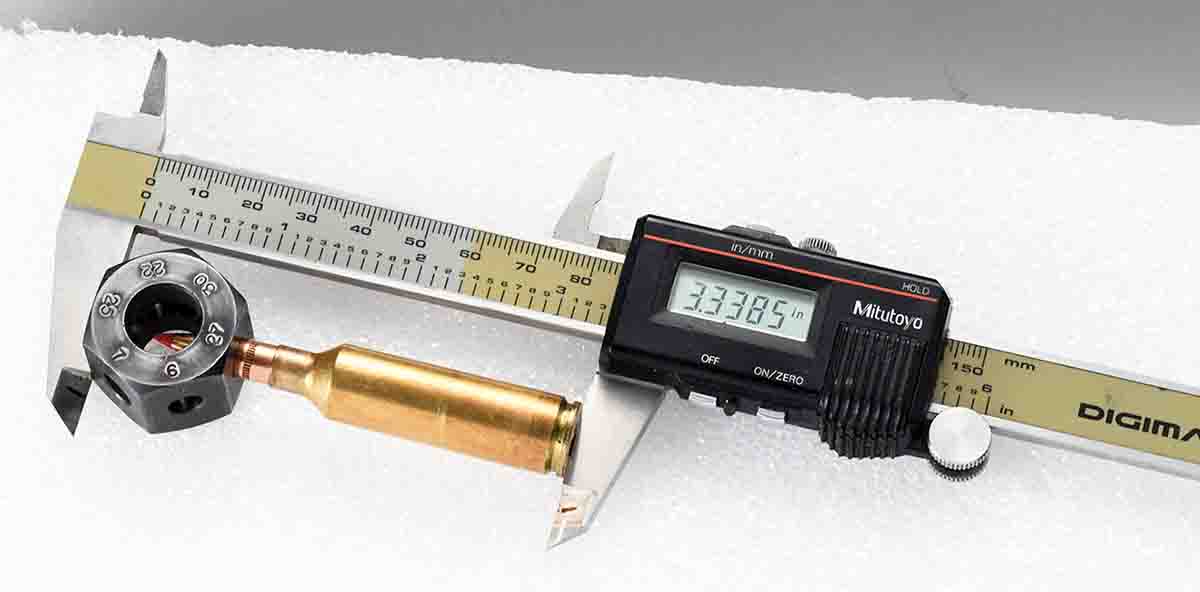
Whether using the bullet tip or ogive as a reference point depends on the purpose for which you are measuring. Just keep a few things in mind and adapt measurement processes accordingly. First, bullet overall length varies so if you want repeatable measurements, use the same bullet every time. Second, ogive holes vary so you need to use the same hole from the same tool for a given caliber every time. Third, leades, or land ramps, at the rifling origin in the chamber vary. Leades are cut with different angles. Most modern bottleneck cartridges have The Sporting Arms and Ammunition Manufacturers’ Institute (SAAMI) specifications on leades that run from one to three degrees. However, the 9.3x62 has a very shallow leade angle of 0 degrees, 21 minutes and 29 seconds. The SAAMI specified leade in this chamber is 1.102 inches long. A .44 Magnum, on the other hand, has a short and steep 5-degree leade. Leade angles are not even standardized for a specific bullet diameter; they vary by cartridge.
Not only do leade angles vary, resulting bullet-land contact point differences, leades change with wear. Land-touching overall cartridge length when the rifle is new is much different in the same rifle when it has had thousands of rounds through the barrel. Even a few score of rounds with fast, high-intensity loads can change a leade notably.
Different leade angles also wear differently. A surface wear of .002 inch on a shallow leade angle is far different from .002 inch of surface wear on a steeply-angled leade regarding the bullet-to-lands contact distance. None of this makes much difference if you keep your measuring current.
Note: Never use a live round for length testing or measuring, particularly if the test requires chambering the round.


