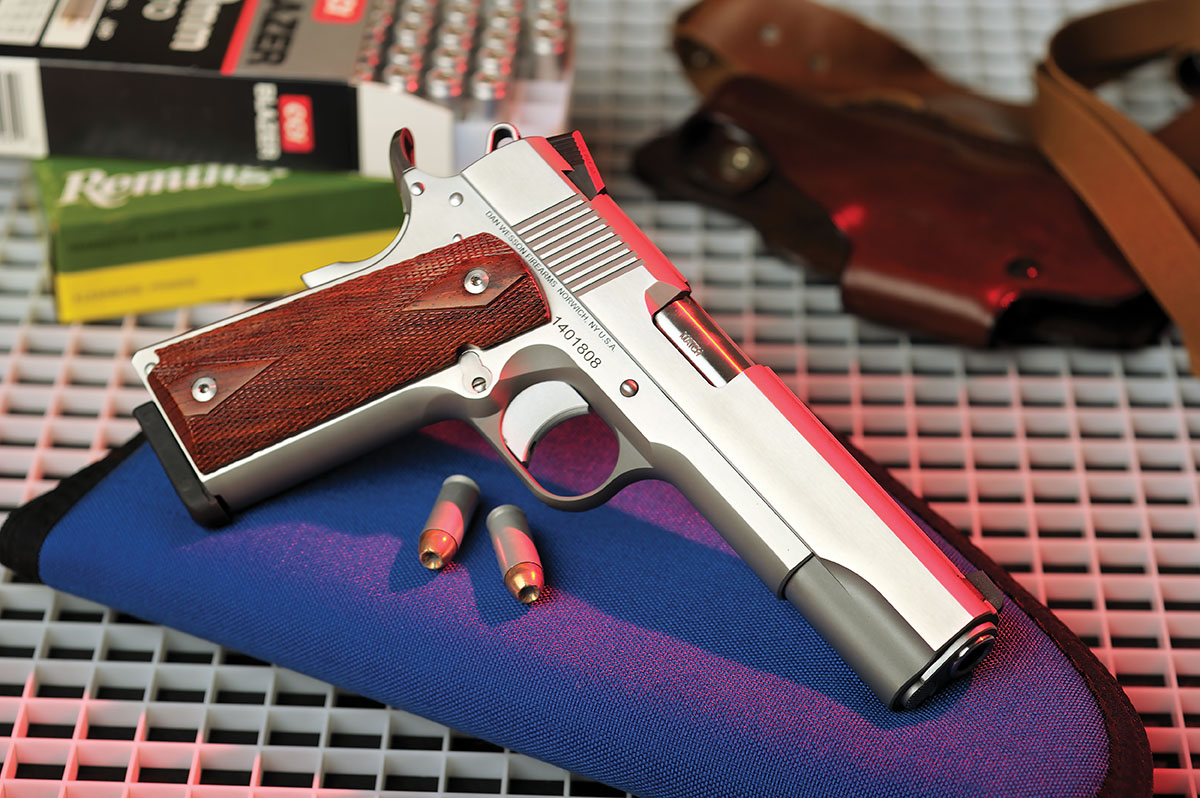
The striking Dan Wesson Razorback automatic in 10mm is a prime candidate for the interest in turning out premium ammunition at the handloaders bench for flawless functioning.
The method of loading pistol or rifle ammunition follows general guidelines. When preparing handloads for semi-automatic weapons, words such as taper crimp, fast-burning powders, or full metal-jacketed bullets become very meaningful. I became in tune with all this when involved in the International Practical Shooting Confederation (IPSC) matches years back when every shot could make the difference in the final outcome.
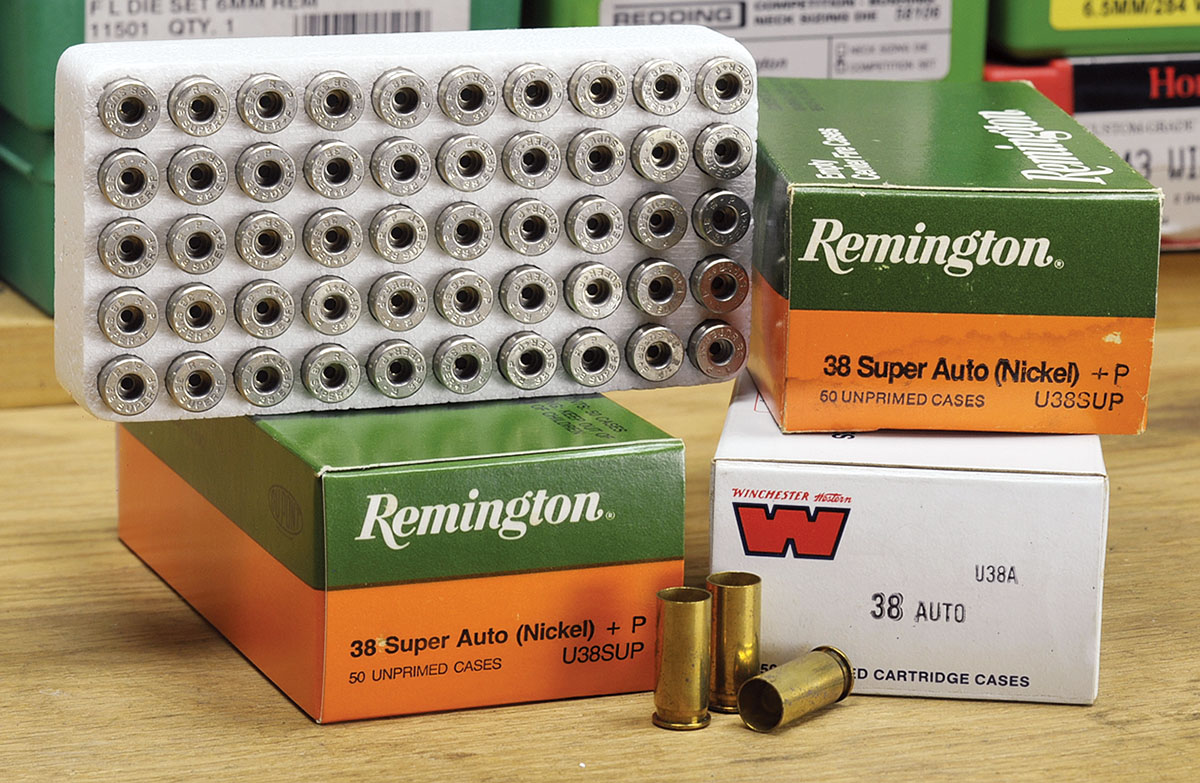
Starting out with new and fresh brass is always a good idea when working with a semiautomatic handgun. If you can, stay away from older military or once-fired brass of doubtful quality.
Handloading for an automatic takes time, patience and a thorough understanding of what happens to that cartridge when the gun is placed into service. Depending upon the model, most autos are made so the cartridge itself cycles or powers the action. This strips off another round from the magazine, forcing it over the feed ramp and into the chamber, closing the slide. With all this going on and perhaps at a faster pace, our ammunition must be impeccable, which is not at all difficult if one follows correct loading practices.
Starting out, the first priority is to purchase brand new factory brass available from manufacturers like Federal, Hornady, Remington, Winchester or Starline. Avoid military surplus brass, as some can have sidewall dimensional differences that could result in abnormal pressure readings. Avoid like the plague foreign bargain brands that might have Berdan priming pockets which are a real hassle to load or deprime. If you are on a tight budget, you can shop around for clean, once-fired brass (great for target loads), but make sure all those cases in the bag are of the same make and cartridge.
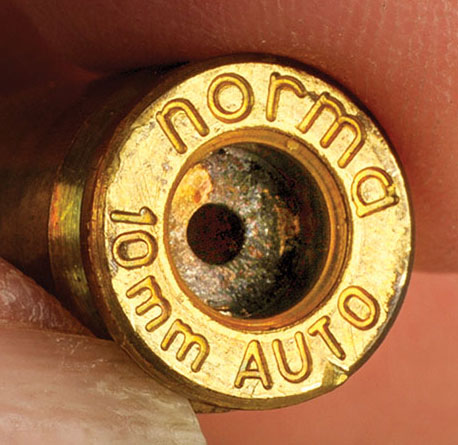
When working through the sequence of producing ammunition, make sure the primer pockets are clean before repriming. This case has been fired, and now, before another reloading session, it needs to be cleaned so the new primer fits perfectly into the pocket.
Once you are satisfied with your purchase, all cases, new or otherwise, should be inspected for any defects. Even out of the box, factory new cases can have distorted case mouths due to rapid handling or packaging at the manufacturing end. Once fired, cases can show more in the way of incipient cracks at the mouth or scratches on the body due to extraction from prior use. With factory new, you can go right to the next step of sizing, with once fired, some tumbling will clear away most debris from the inside or around the inside of the primer pocket. Walnut shells work fine, but I’d check the primer pockets to ensure nothing got lodged in there. My recommendation is to use the new wet tumblers and liquid cleaners, dry them and move on to sizing.
When loading ammunition for your autopistol, I recommend you purchase a three-die tungsten carbide set as to alleviate the need to constantly lube and clean cases every go around. In this set, you have everything you need to turn out quality, first-class ammunition. These sets include a sizing, expanding and seating die. In addition, a taper crimp die should be added to your purchase, and its purpose will be explained later.
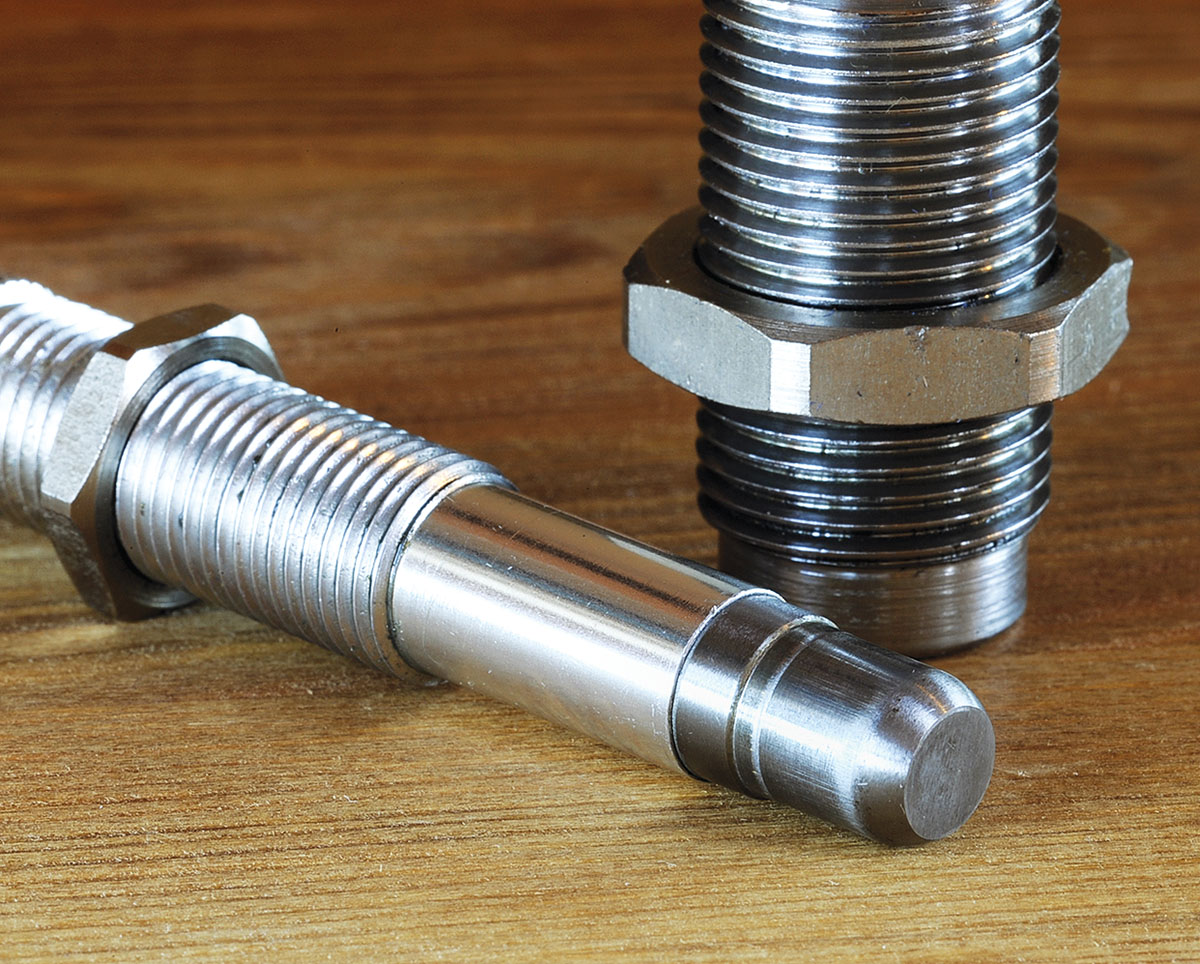
This is a close-up of the expander showing the “step” that allows the proper flare or bell at the mouth of the case. This allows – and especially with lead bullets – the bullet to enter the case without splitting the mouth or shaving the sides of the bullet.
Before you even load a cartridge or seat a bullet, run all the brass through a sizing die. After sizing, run a random check on a few with a precision caliber or micrometer. Depending on the caliber, attention should now be given to the overall length and the inside diameter of the case.
As most automatics headspace on the case mouth, too long of a case could keep the slide from locking home; a definite problem in a stressful confrontation. During sizing, the inside dimension must be tight relative to the bullet diameter to keep the bullet from slipping back into the case as it rides the feed ramp. If, by chance, the expander plug ball is too large, a smaller plug ball is needed, as bullet pushback can bring on other problems, including a drastic jump in pressure. After firing, if cases are too long, trimming is necessary.
The awareness and the importance of proper flaring or belling of the case mouth in combination with proper sizing is a vital step in the flawless performance of any automatic pistol. This is where a second die, called the expander die, comes into play. Sizing is the process of bringing back the fired case to factory specifications. The top of the expander die is slightly larger to allow the inside expansion of the mouth to receive the bullet without splitting the mouth or in the case of lead bullets, unacceptable shaving as it enters the case. I like to expand the case just to the point where the bullet just “clicks” when placed on the case before seating.
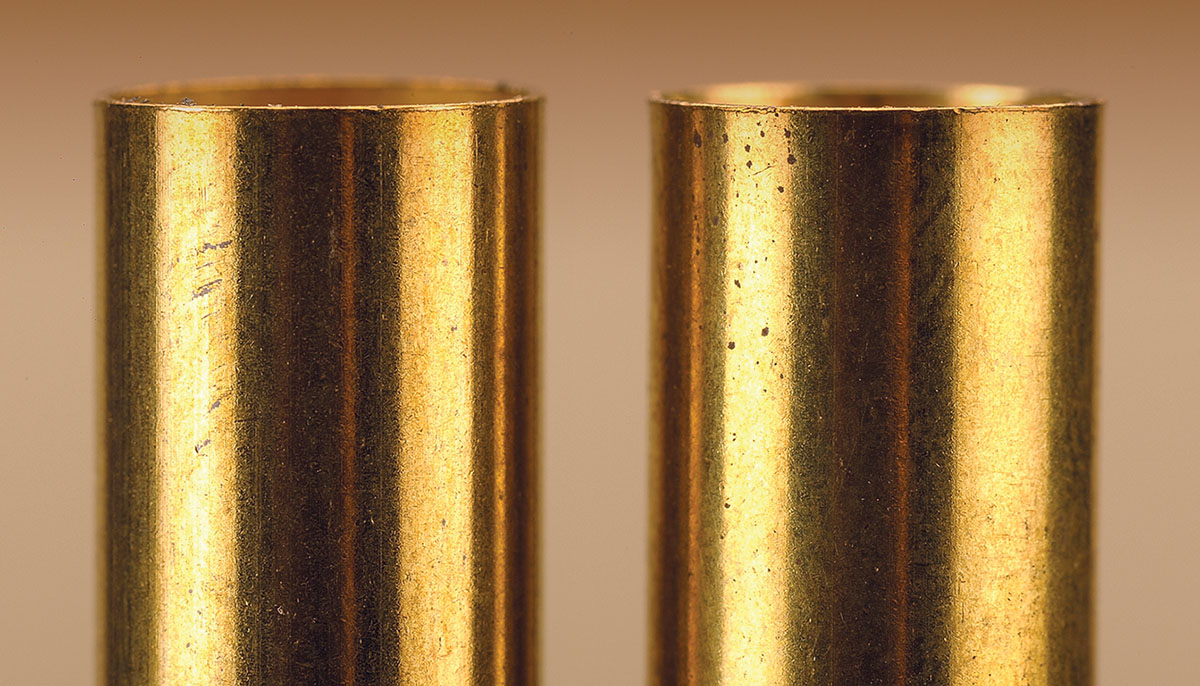
On the left is a sized case; on the right, you can see the minute amount of expansion you need for the bullet to enter the case smoothly. Too much of a bell will only work the brass leading to mouth splits.
The primer choice is next. Standard pistol primers fill the bill very nicely and are available in both the small and large pistol variety. Since fast-burning powders are used in these small cases, magnum primers should not be considered in all but a few instances. This would include the large automatics like the Auto Mag that was on the market years past and now has a resurgence of sorts chambered for the .44 Auto Magnum cartridge. These high-powered autos can use volumes of slower propellants, and, as such, combined with a magnum-type primer, will ensure complete combustion.
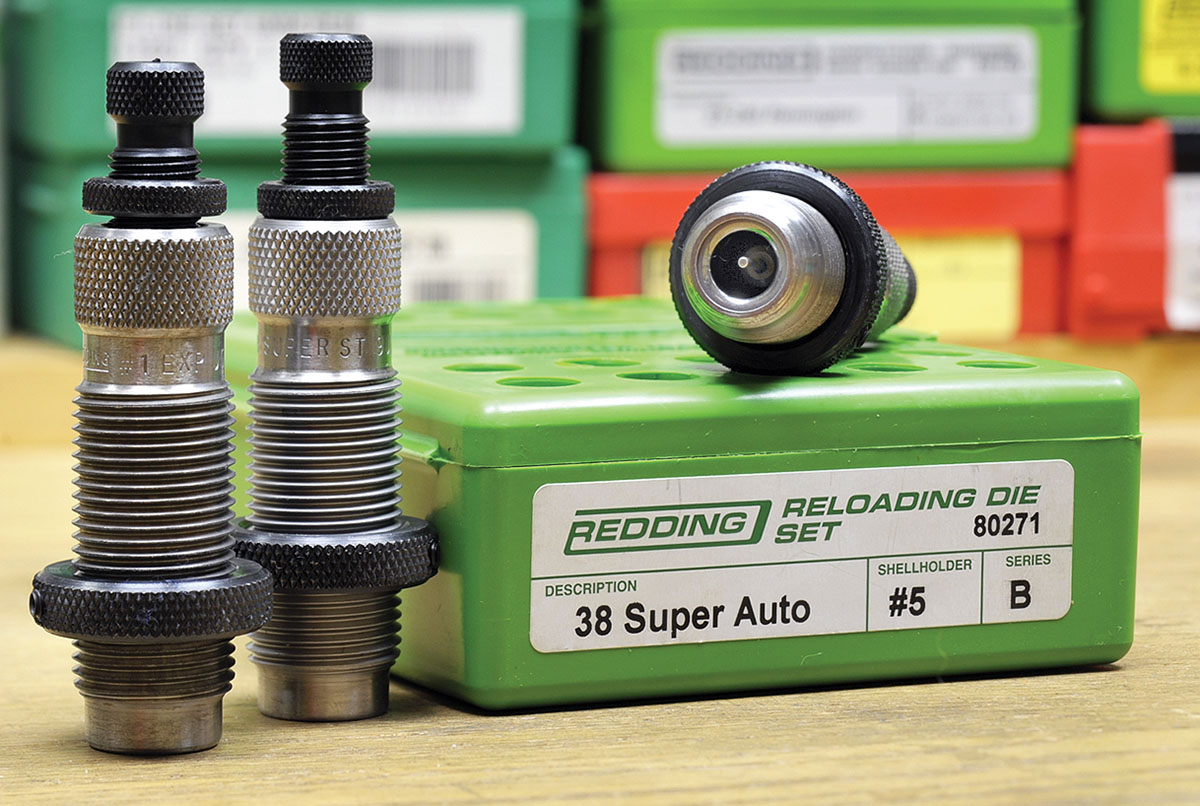
Along with a new batch of brass, treat yourself to a good set of precision dies, which includes a carbide sizer, an expander and a seating die. A set with a carbide die will eliminate the messy job of lubing each case before entering the sizing die and will last a lifetime.
When it comes to powders, I still like to keep it simple, especially with the shortages we see on the shelves today. When you are loading for the 9mm, 10mm, .38 Super, 40 S&W or 45 ACP the following powders will work in these applications: Winchester 231, Bullseye, Unique or Accurate No. 5 or No. 7. They fill the bill without any problems while still delivering more than adequate velocities for any occasion. Additionally, with the smaller cartridges these pistols use, the economy comes into play. An example would be with the .45 auto using 6.0 grains of Bullseye with a 185-grain bullet for around 950 fps, you would get nearly 1,200 reloads from a pound of powder, and at today’s prices, that comes to about .45 cents per case. Finally, stay away from maximum charges until you get used to your gun and cartridge
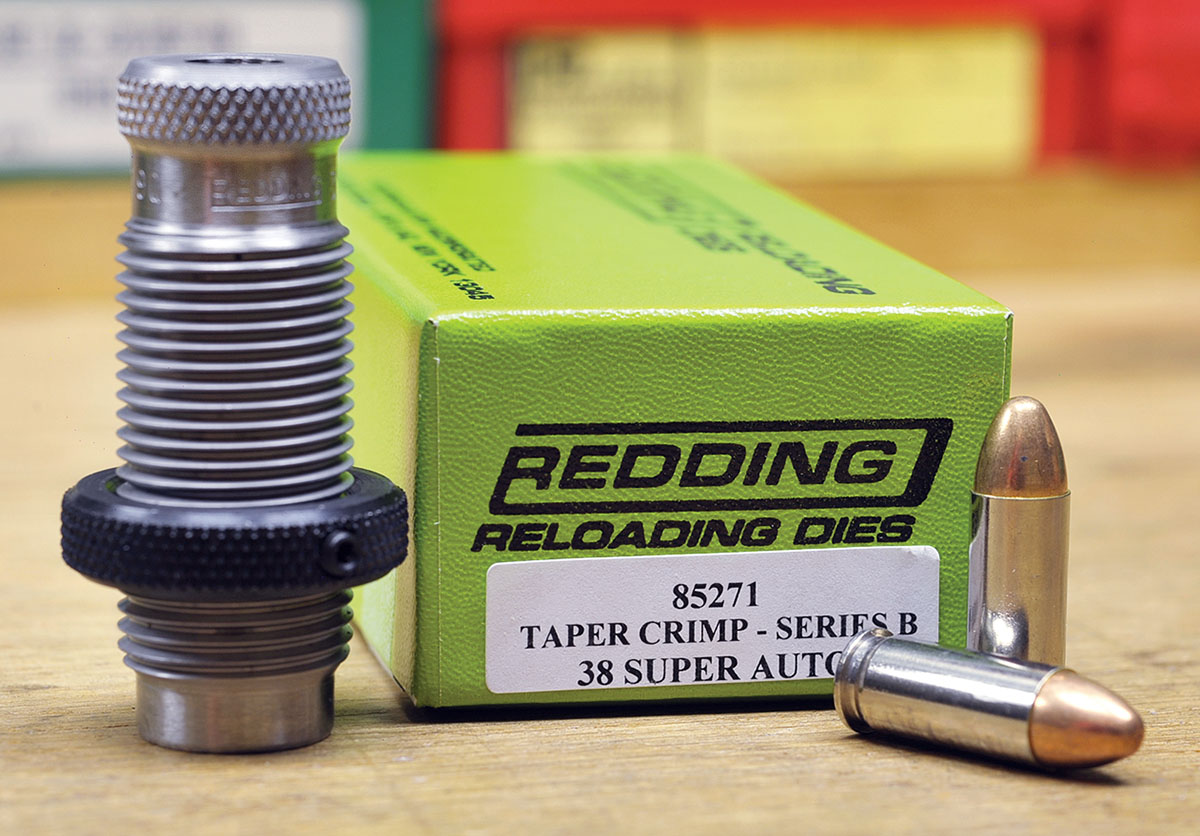
Along with the die set, if the set does not have one, purchase a separate crimping die. This goes a long way in making every round function in the handgun without any failures.
A few pointers on bullets, they come in all shapes, weights and designs for hunting, defense or target use – jacketed or lead. One look at any of the major bullet makers will overwhelm you with choices but if you set your goal on what your primary use is, the field gets smaller. Depending upon the caliber, you start out with lightweight bullets and work up to the heavier variety, again depending upon your use. Broken down in the Hornady book, for example, there are over a dozen varieties from full metal jacket, Hornady Action Pistol (HAP), XTP for hunting or self-defense, wadcutter types for target use, and finally, lead bullets in a variety of shapes and designs. For autoloaders, bullets need no crimping groove and should not have one. Once the decision has been made on the case, powder, primer and bullet, the loading sequence can begin.
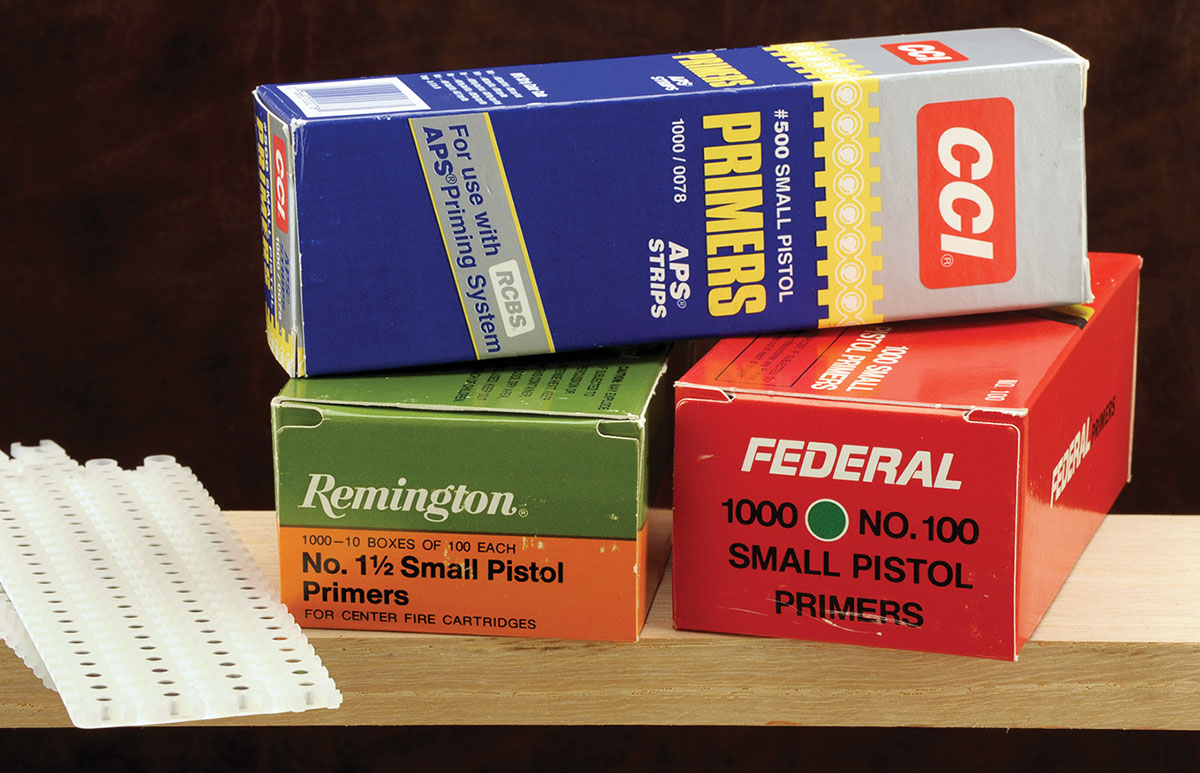
Made by a variety of companies, primers are the spark plug for proper ignition of the powder. There is no need to reach for the magnum type; regular primers are fine for the smaller semi-automatic cases.
When it comes to making a “run” of ammunition, you can either do it in batches, or on a progressive press. I find making up a batch of 50 at a time and working through the whole process makes it a pleasurable chore to deal with. Whether you are using new or once-fired brass, the first stage is sizing. Once out of the die, check for both inside and outside dimensions and overall length, if necessary, trim.
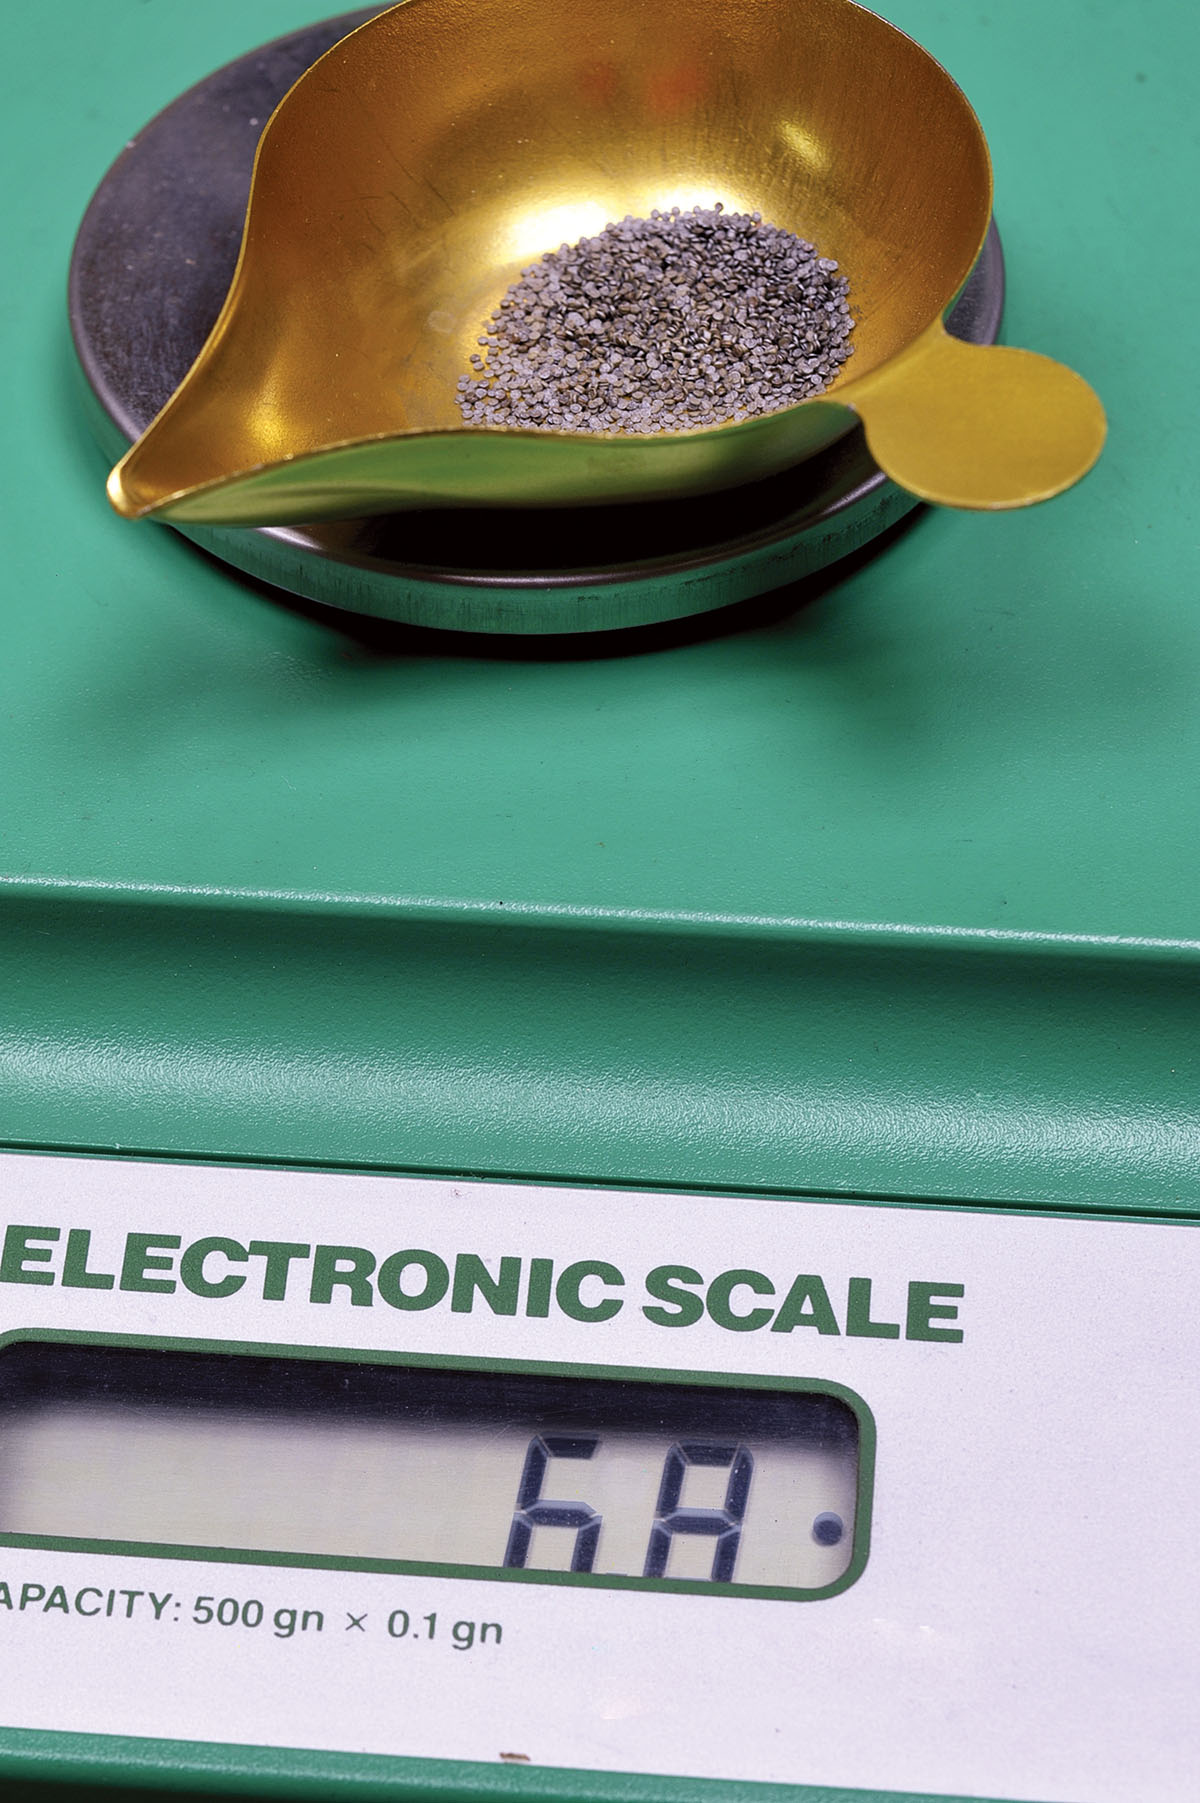
A good scale is an important part of this reloading process. With small charges, there is no room for guesswork when it comes to the proper charge of fast-burning powder.
Next, move over to the expanding die and flare the cases. From here, priming is next. To speed things along, I flare the case on the upward stroke of the press; on the downward motion of the ram, I prime the case.
Simple as it may seem, priming needs some attention. First, it is important to properly seat the primer in the pocket. Do not exert so much pressure that you deform the primer by pushing it so hard against the bottom of the cup. Run your finger across the primer, making sure it is flush or slightly below the case head. While this sounds elementary, a primer not seated well – dirt in the primer pocket, for example – can raise the primer enough to possibly have a slam fire.
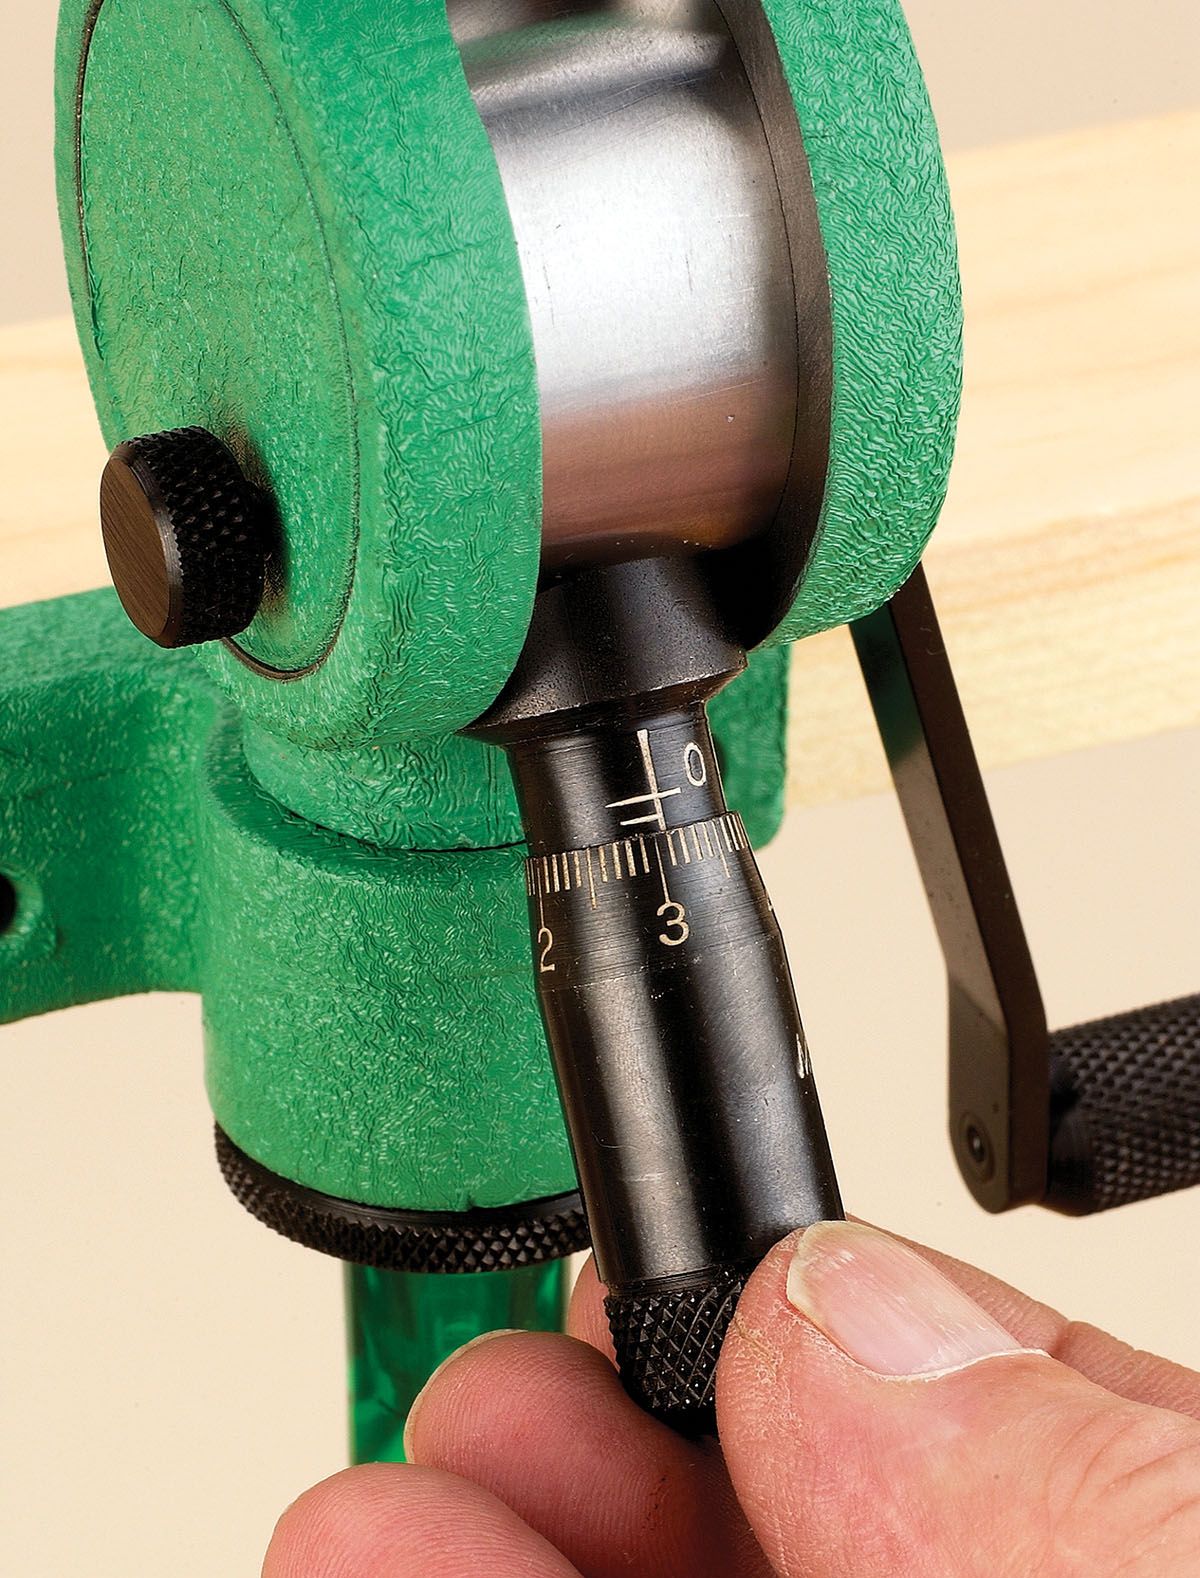
Next to a good scale, don’t be afraid to invest in a top-end powder measure. This one allows you to tailor the drop via a micrometer adjustment and works out great for today’s fine granule, fast-burning powders.
Powder charging is next, and attention to the details here is paramount. With small cases, any deviation in the charge to the high side can affect accuracy or, worse yet, raise pressures. In most cases, the fine-grained faster powders meter very well in modern powder measures, and once set and confirmed, you can move right along. Checking every tenth charge for accuracy. Once you have the 50 charged cases in the loading block, it’s a good practice to check each with a good light, making sure all have reached the same level in the case.
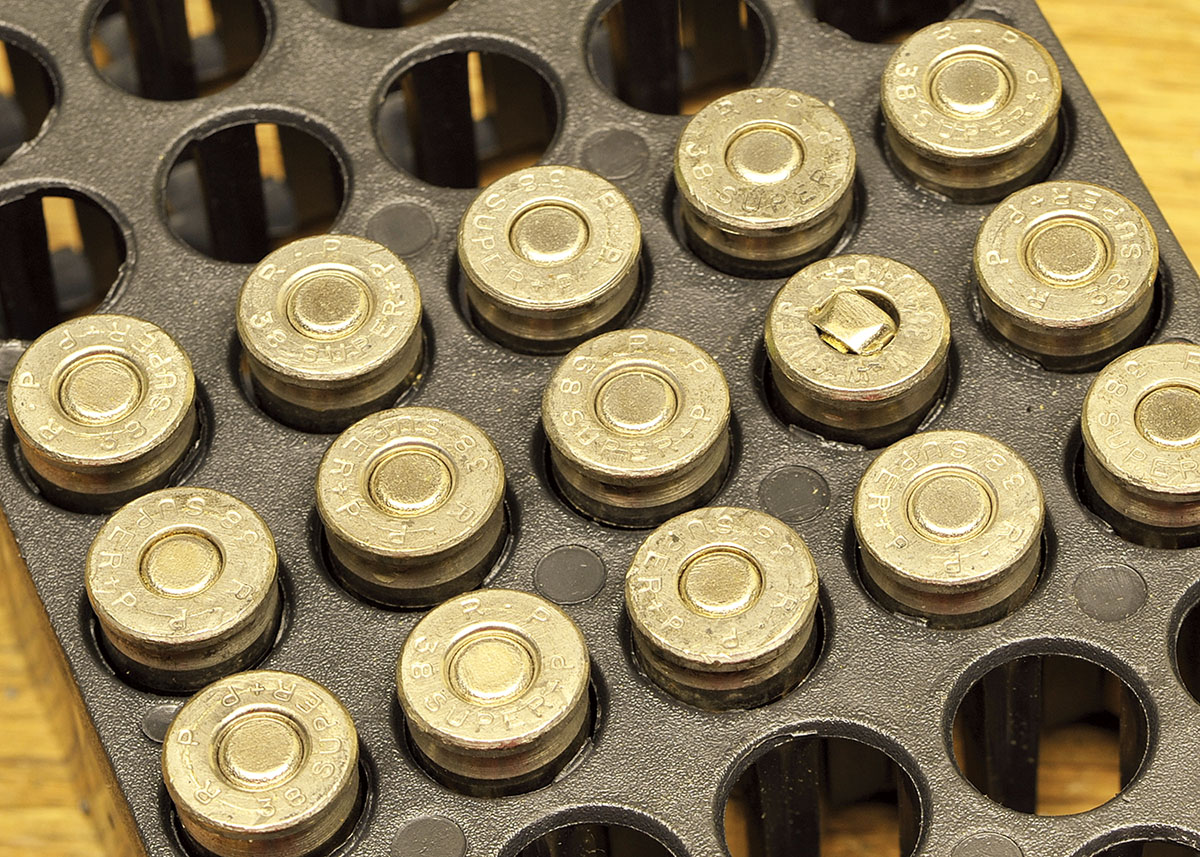
Oops! Never take anything for granted in reloading. When finished, the author caught this mistake in the middle row, to the right. A sideways primer is not a good thing!
With all that behind us, seating and crimping is next. With any cartridge, the first thing to do is to check the loading manual for the correct overall length with the bullet installed. Bullet depth can vary, but keep in mind we are talking here in
thousandths of an inch, not in quarters of an inch! If the gun does not feed or feel right, perhaps the bullet is out too far and hitting the feed ramp at the wrong angle on its trip to the chamber. Too deep into the case can sometimes result in increasing pressures to dangerous levels, bad accuracy or erratic velocity readings. Proper seating only requires that you place the bullet squarely on top of the flare so it can be driven down into the case to its correct depth.
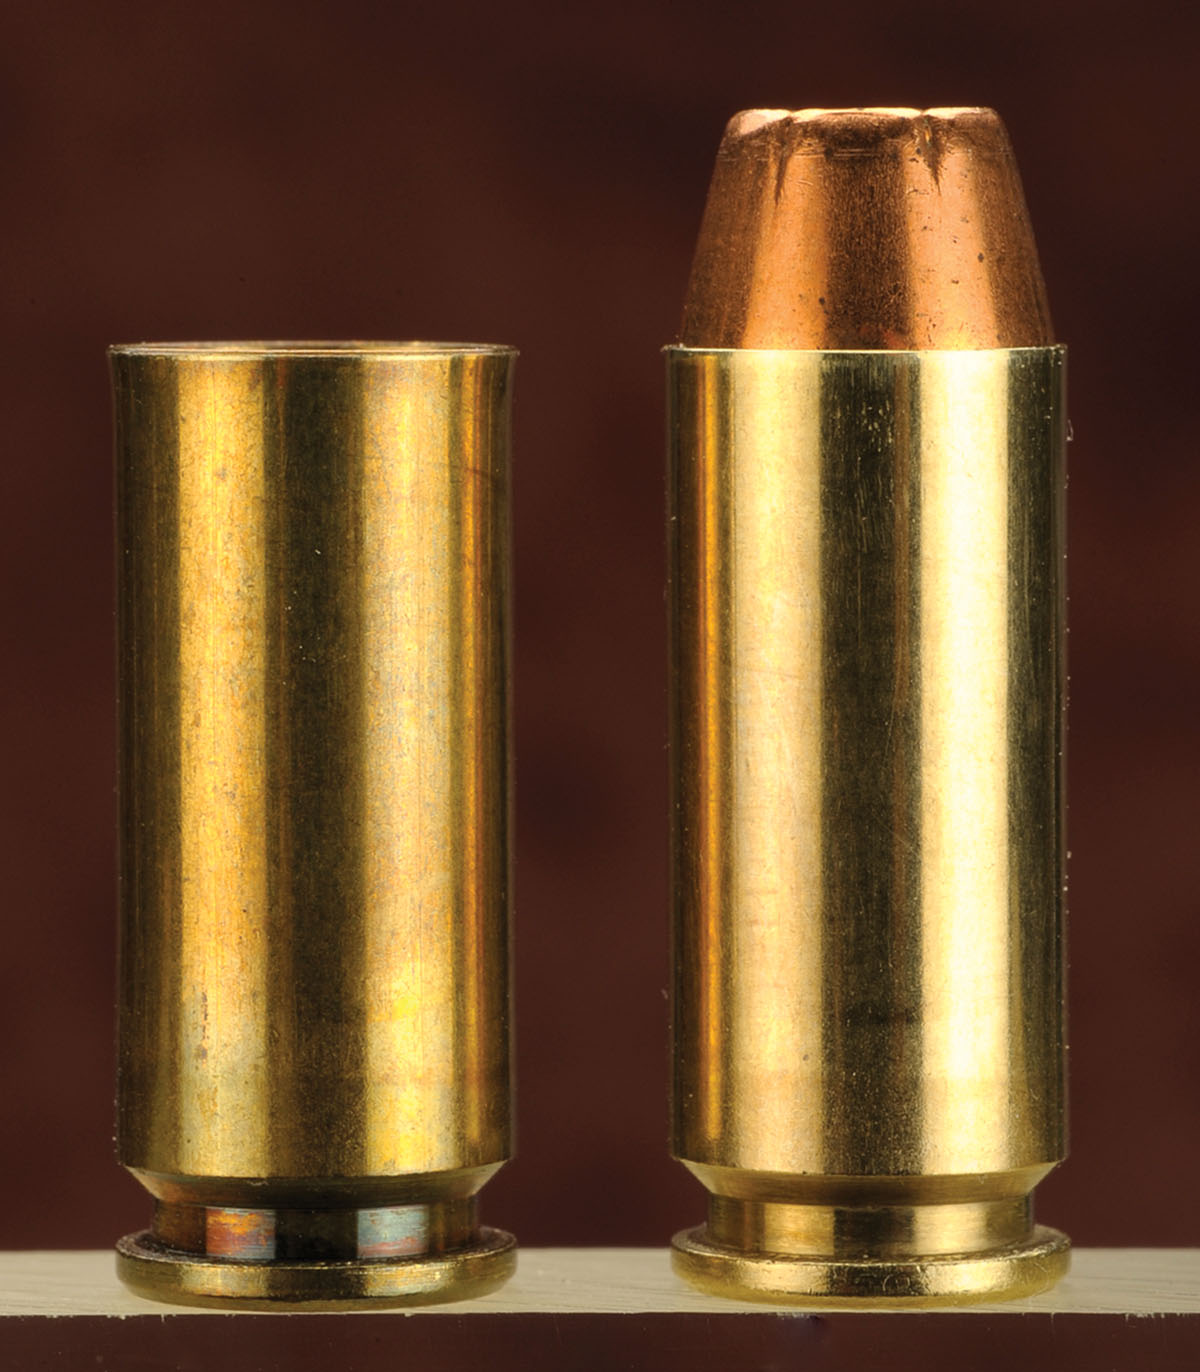
The belled case is on the left, with the finished round on the right. Take note that the flare is so minute you can hardly see it, which is the way you want it before you place the bullet on top of the case before seating.
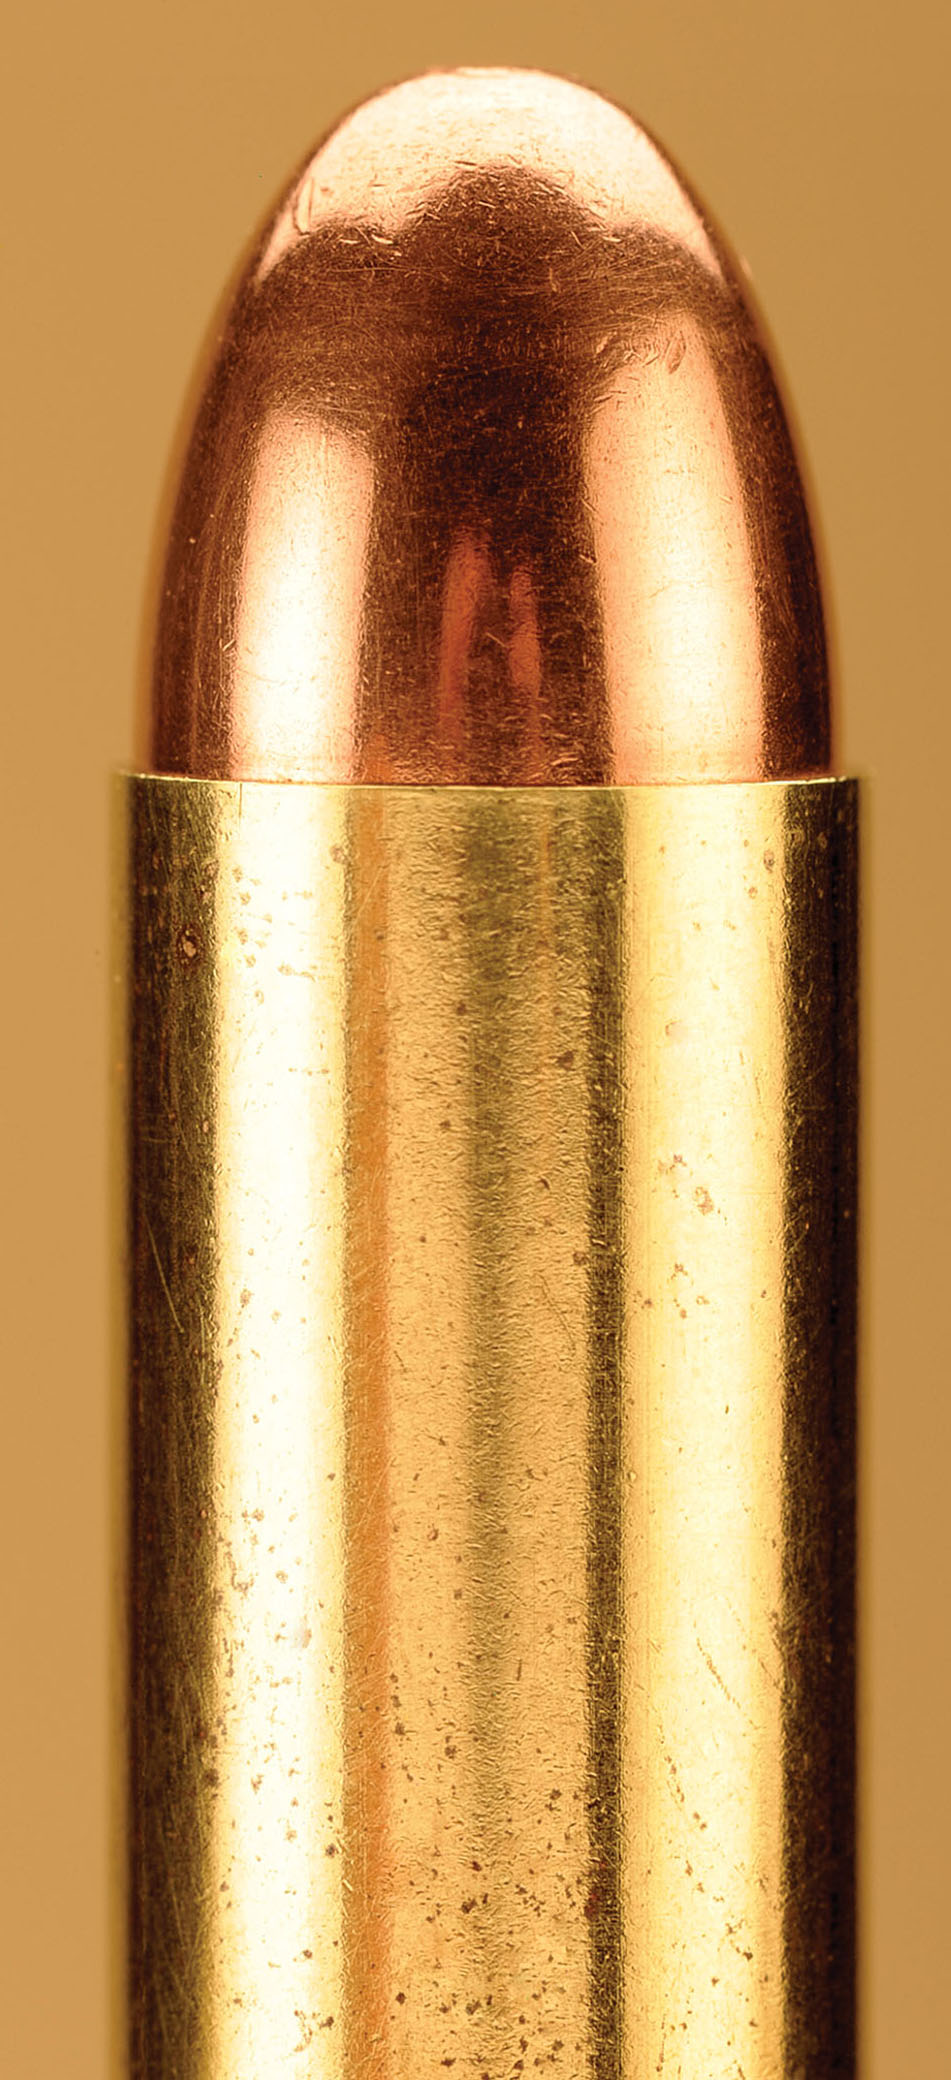
This is the proper way to end up with a finished round. The taper crimp is perfect, and to see the effect, look at the right and left-hand sides of where the case meets the bullet. Just a very small taper to hold the bullet in place during shooting.
To complete the loading sequence, now is the time to taper crimp each cartridge. In this author’s opinion, this is the greatest single factor in achieving flawless autopistol reliability over my shooting years. Taper crimping now makes each round consistent with the rest of the batch and takes only a short time. In short, taper crimping involves nothing more than smoothing out the expanded case mouth inward, in effect, to streamline the case so it feeds without problems. Over time, this became so popular in reliability that most die makers now incorporate a taper crimp option into the seating die to eliminate the additional cost of another die, not to mention the extra time to finish a round with this method.
Last, after all that work, come up with a testing plan that allows you to fire your initial loads, with room to improve later. The first thing to consider is that you are there to see how the gun shoots…not how good you are. Keep in mind you need a firm support for the gun, and that you are comfortable behind the weapon. Today, we are all blessed with a wide variety of handgun rests, from simple to the elaborate Ransom Master Series Rest. While the Ransom Rest might be a stretch for some, a check at your local gun shop will produce many to your liking. A chronograph would be a nice addition to your data, and the distance should be 25 yards. Fire three groups, five shots each with the same load, to get a good picture and average of your work. Don’t forget to collect the brass, checking for pressure signs around the primer area.
Today’s autopistols dwell on the premise that they are accurate and dependable. Your handloading complete with all the details mentioned, only makes any handgun better.
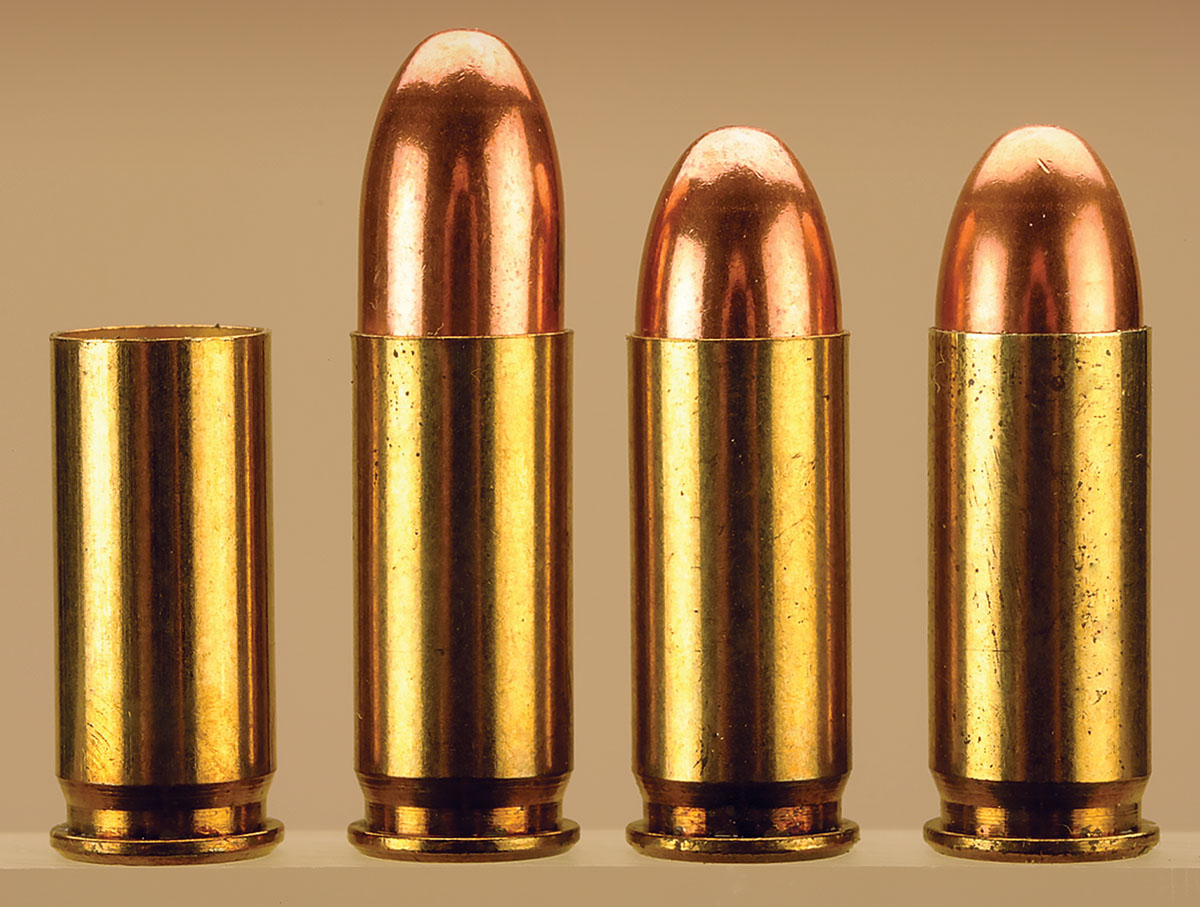
Left to right, the sequence of loading includes sizing, flaring or belling, seating and finishing off with a taper crimp.
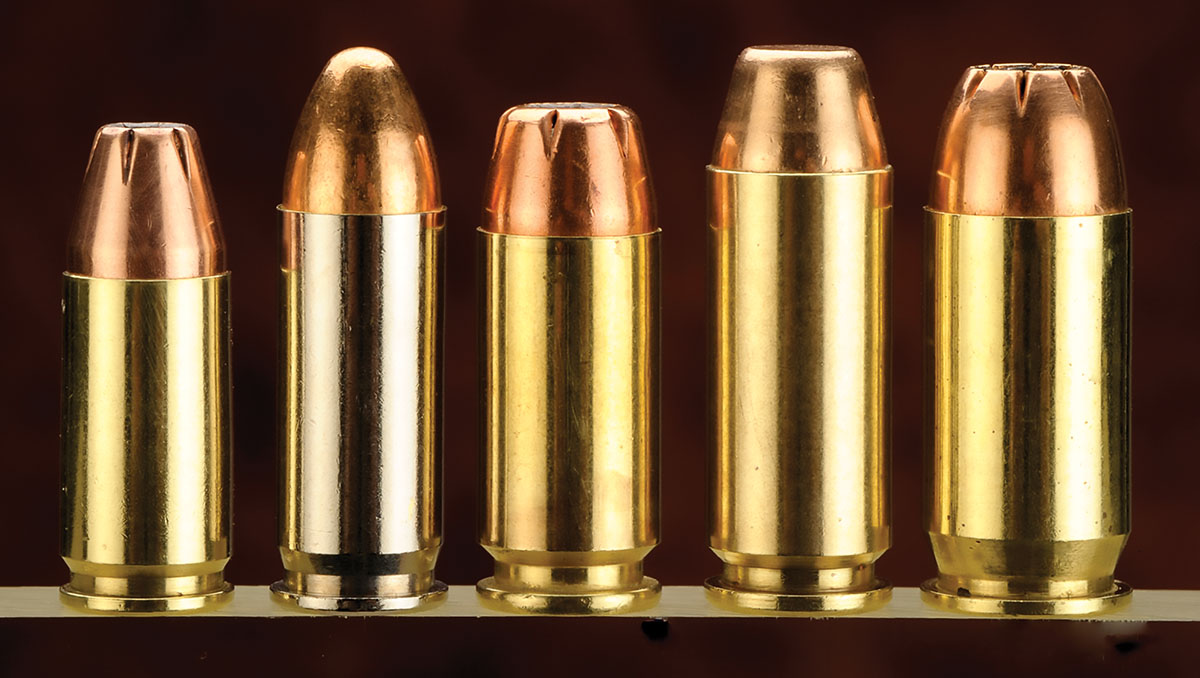
Some candidates for precision loading include the 9mm, 38 Super, 40 S&W, 10mm Auto and the .45 ACP.


